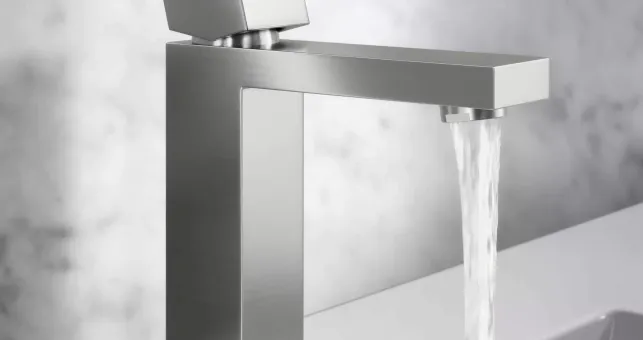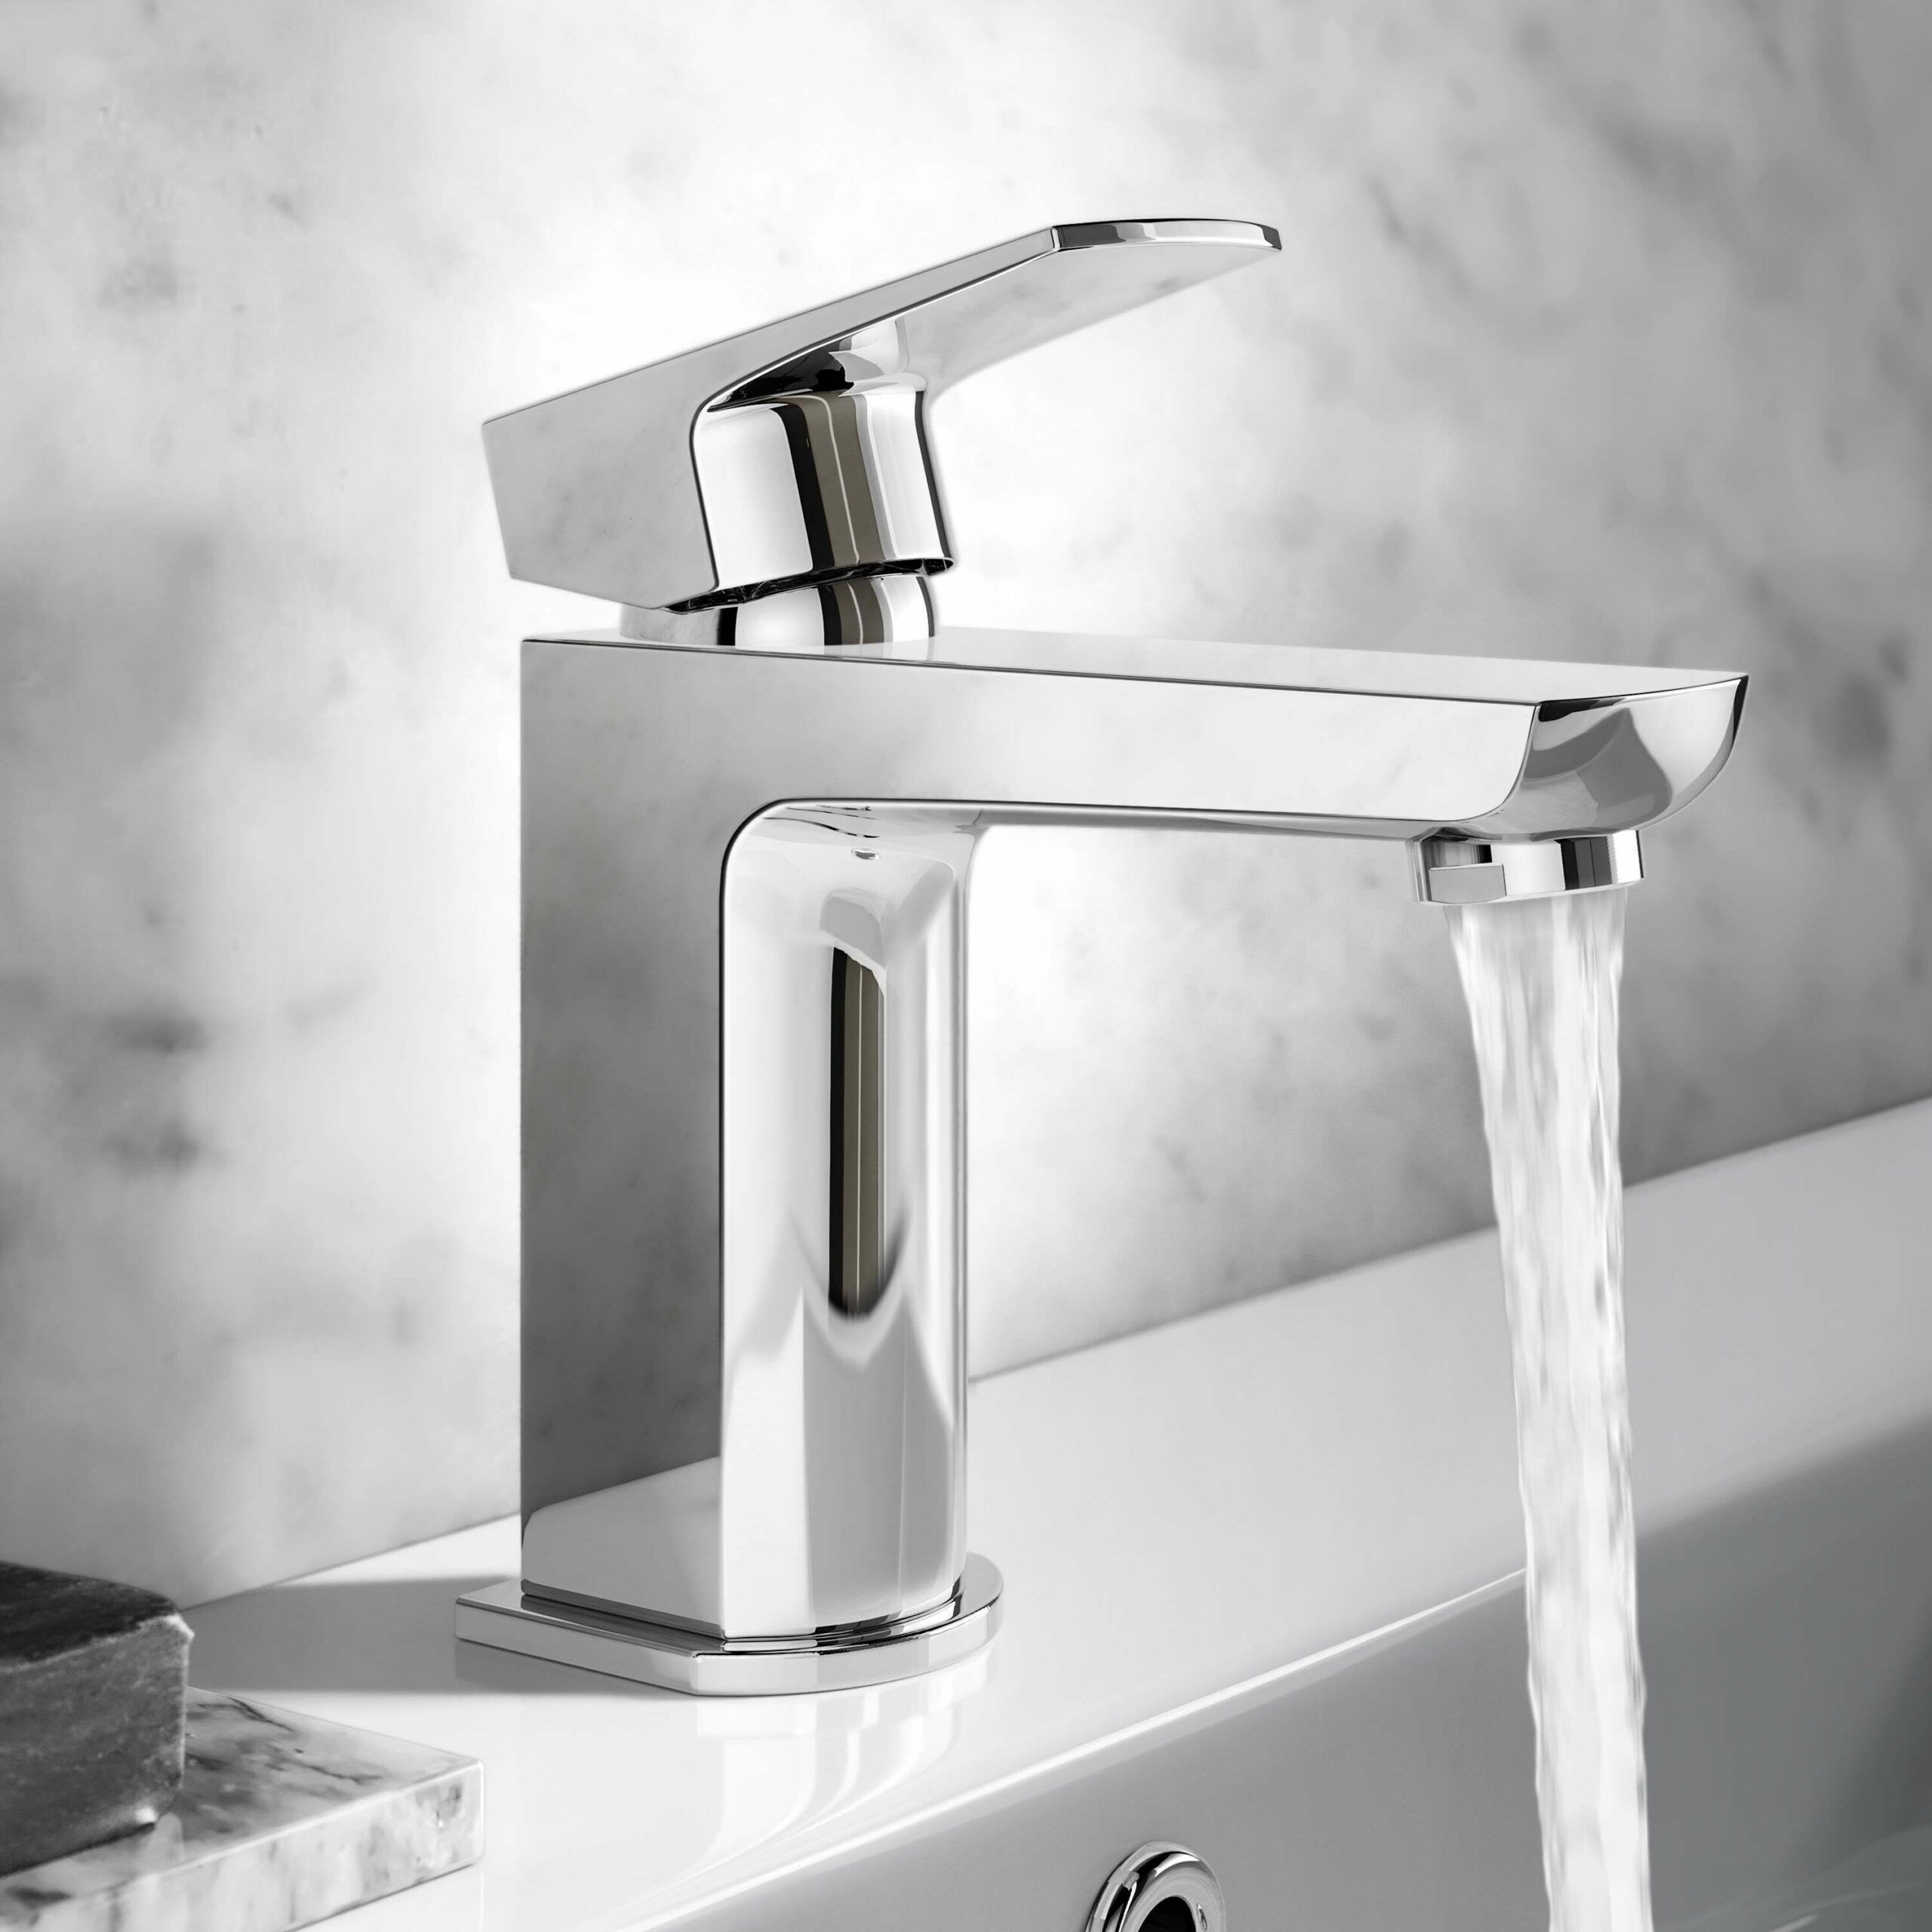
Repairing a sink requires diagnosing faults, isolating water supply, using correct tools, and applying targeted fixes such as seal replacement, blockage removal, tap repair, and pipe adjustment to restore flow within 4–12 litres per minute and drainage within 5–15 seconds.
Sink problems include leaks, slow drainage, dripping taps, low water pressure, damaged seals, and cracked basins caused by wear, buildup, or incorrect installation. Diagnosis involves checking leaks, testing drainage speed, assessing pressure, and inspecting seals and connections. Repair methods include tightening fittings, replacing washers and O-rings, cleaning traps, using plungers or drain snakes, and resealing joints. Sink types such as pedestal, wall-mounted, countertop, and undermount designs require different repair approaches based on access and fixing methods.
Common tools include adjustable spanners, pipe wrenches, sealant, PTFE tape, and replacement parts. Blockages form due to grease, soap residue, hair, and foreign objects within 32–40 mm pipes. Proper repair restores watertight performance, while preventative maintenance such as cleaning, descaling, and controlled usage reduces future issues and ensures long-term sink functionality.
What Are The Most Common Sink Problems That Require Repair?
Common sink problems requiring repair include 7 issues such as leaks, slow drainage, complete blockages, low water pressure, dripping taps, damaged seals, and cracked basins, affecting flow rates between 4–12 litres per minute in standard domestic systems. Sink performance depends on unobstructed drainage, sealed joints, and stable water pressure. Faults develop due to wear, mineral buildup, or mechanical failure within taps, pipes, or seals.

The most common sink problems are given below:
- Detecting Leaking Pipes: Water leaks from joints or pipe connections due to worn seals or loose fittings. Continuous leakage increases water waste and causes damage.
- Experience Slow Drainage: Water drains within 15–30 seconds instead of normal rapid flow. Slow drainage indicates partial blockage in the waste pipe.
- Face Complete Blockage: Water remains in the sink without draining due to solid obstruction. Full blockage prevents any water flow.
- Notice Low Water Pressure: Reduced flow from taps occurs due to aerator blockage or pipe scale buildup. Low pressure affects usability.
- Observe Dripping Taps: Continuous dripping from taps results from worn washers or cartridge failure. Drips waste water and increase costs.
- Identify Damaged Seals: Perished or cracked seals around the sink edge or pipe joints allow water to escape. Seal failure reduces waterproof integrity.
- Find Cracked Basin Surface: Visible cracks or chips in ceramic or composite basins lead to leakage and structural weakness. Damage requires repair or replacement.
How Do You Diagnose Sink Issues Before Attempting Repairs?
Diagnosing sink issues requires 6 checks including leak inspection, drainage testing, pressure assessment, sound detection, seal examination, and fixture testing to identify faults within taps, pipes, and waste systems operating at 4–12 litres per minute. Accurate diagnosis isolates the fault location before repair. Sink systems include supply lines, tap mechanisms, waste pipes, and seals. Each component produces distinct symptoms under failure.
The diagnostic steps for sink issues are given below:
- Inspect For Visible Leaks: Check under the sink, around joints, and along supply lines for water presence. Active drips indicate loose fittings or worn seals.
- Test Drainage Speed: Fill the basin with 5–10 litres of water and release. Drainage exceeding 15–30 seconds indicates partial blockage. No movement indicates full blockage.
- Assess Water Pressure: Open taps fully and observe flow rate. Weak output indicates aerator blockage or supply restriction. Normal flow suggests downstream issues.
- Listen For Unusual Sounds: Gurgling from the drain indicates airflow restriction due to blockage. Whistling from taps indicates pressure or valve issues.
- Examine Seal Condition: Check silicone seal around sink edges and washers in connections. Cracks or gaps indicate seal failure and potential leakage points.
- Test Tap Function: Turn taps on and off to detect dripping or stiffness. Continuous dripping indicates worn cartridges or washers.
What Are The Warning Signs Of A Failing Sink?
A failing sink shows 7 warning signs including persistent leaks, slow drainage beyond 15–30 seconds, reduced water pressure below normal 4–12 litres per minute, continuous dripping taps, foul odours, visible corrosion, and basin cracks indicating structural or plumbing failure. Sink failure develops gradually due to wear in pipes, seals, and tap components. Early identification prevents water damage, mould growth, and increased repair cost.
The warning signs of a failing sink are given below:
- Notice Persistent Leaks: Continuous water around pipe joints or under the basin indicates seal or connection failure. Ongoing leaks increase damage risk.
- Experience Slow Drainage: Water draining slower than 15–30 seconds signals buildup inside the waste pipe. Restricted flow indicates partial blockage.
- Observe Reduced Water Pressure: Weak flow from taps below normal output indicates aerator blockage or pipe restriction. Low pressure affects functionality.
- Detect Dripping Taps: Continuous dripping after closing taps indicates worn washers or cartridge damage. Dripping increases water waste.
- Smell Foul Odours: Unpleasant smells from the drain indicate trapped debris or bacterial buildup. Odours signal drainage issues.
- Identify Corrosion Or Rust: Visible rust on pipes or fittings indicates material degradation. Corrosion weakens structural integrity.
- Find Cracks In Basin: Surface cracks or chips allow water leakage and reduce durability. Structural damage requires repair or replacement.
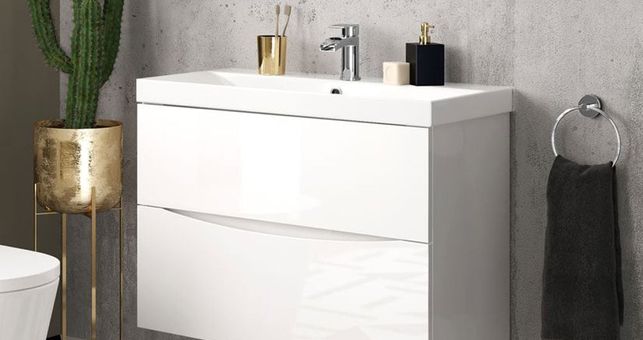
What Types Of Sinks Require Different Repair Approaches?
Different sink types require specific repair approaches across 6 categories including pedestal sinks, wall-mounted sinks, countertop sinks, undermount sinks, integrated sinks, and stainless steel sinks, each varying in fixing method, access level, and material structure. Sink repair depends on installation type, material composition, and access to plumbing connections.

The sink types requiring different repair approaches are given below:
- Repair Pedestal Sinks: Pedestal sinks conceal pipework within a column, limiting access to connections. Repairs require careful removal or side access to reach supply lines and waste pipes.
- Repair Wall-Mounted Sinks: Wall-hung sinks fix directly to the wall with exposed or partially exposed pipes. Repairs focus on bracket stability, pipe connections, and wall fixings.
- Repair Countertop Sinks: Countertop sinks sit above the surface with visible edges. Repairs involve resealing edges and accessing pipes from below the counter.
- Repair Undermount Sinks: Undermount sinks attach beneath the countertop using brackets and adhesive. Repairs require reinforcing mounting points and resealing joints to prevent leaks.
- Repair Integrated Sinks: Integrated sinks form part of the countertop structure. Repairs focus on surface damage and drainage components rather than structural removal.
- Repair Stainless Steel Sinks: Stainless steel sinks resist corrosion but require attention to dents, scratches, and seal integrity. Repairs involve surface treatment and joint sealing.
- Repair Ceramic Sinks: Ceramic sinks require crack repair or replacement due to brittle material properties. Structural damage affects long-term durability.
What Tools And Materials Do You Need For Sink Repairs?
Sink repairs require 9 essential tools and materials including adjustable spanners, pipe wrenches, screwdrivers, pliers, plumber’s tape, sealant, replacement washers, bucket, and cleaning cloths to fix leaks, blockages, and tap faults within 4–12 litres per minute systems. Sink repair involves tightening connections, replacing worn components, and sealing joints to restore proper function.
The tools and materials for sink repairs are given below:
- Use Adjustable Spanner: Adjustable spanners tighten and loosen nuts and pipe fittings. Proper adjustment prevents overtightening and damage.
- Use Pipe Wrench: Pipe wrenches grip and rotate metal pipes securely. Strong grip assists in loosening tight connections.
- Use Screwdrivers: Flathead and Phillips screwdrivers remove tap handles and access internal components. Correct type ensures safe disassembly.
- Use Pliers: Pliers hold small parts and assist in removing clips or washers. Controlled grip improves precision.
- Use Plumber’s Tape: PTFE tape seals threaded connections to prevent leaks. Tape improves watertight sealing at joints.
- Use Silicone Sealant: Sealant secures sink edges and pipe joints against water leakage. Proper sealing maintains waterproof integrity.
- Use Replacement Washers: Washers replace worn components inside taps to stop dripping. New washers restore proper sealing.
- Use Bucket: Buckets collect residual water during repairs to prevent spillage. Water control improves working conditions.
- Use Cleaning Cloths: Cloths remove debris, excess sealant, and water. Clean surfaces improve repair quality.
How Do You Turn Off Water Supply To A Sink?
Turning off water supply to a sink requires 4 steps including locating isolation valves, closing hot and cold valves, testing flow stoppage, and draining residual water to safely stop water flow within 4–12 litres per minute systems. Sink water supply connects through hot and cold feed pipes controlled by isolation valves. Proper shutdown prevents leaks and water damage during repairs.
The steps to turn off water supply to a sink are given below:
- Locate Isolation Valves: Find the hot and cold water valves under the sink, typically positioned on supply pipes. Valves control water flow to the tap.
- Close Both Valves: Turn each valve clockwise until fully closed. Closing valves stops water entering the tap system.
- Test Water Flow: Turn on the tap to confirm no water flows. Lack of flow indicates successful shutoff.
- Drain Remaining Water: Allow residual water in pipes to empty through the tap. Draining prevents leakage during repair work.
How Do You Fix A Leaking Tap At The Base?
Fixing a leaking tap at the base requires 6 steps including water isolation, tap removal, seal inspection, O-ring replacement, reseating, and sealing to stop leaks and restore watertight performance within 4–12 litres per minute systems. Leaks at the tap base occur due to worn O-rings, loose fittings, or degraded sealant around the tap body. Water escapes from the junction between the tap and sink surface.

The steps to fix a leaking tap at the base are given below:
- Turn Off Water Supply: Close isolation valves under the sink to stop water flow. Shutoff prevents leakage during repair.
- Remove Tap Handle And Body: Unscrew the handle and access the tap base using appropriate tools. Removal exposes internal seals and fittings.
- Inspect O-Rings And Seals: Check rubber O-rings and washers for wear, cracks, or deformation. Damaged seals cause leakage.
- Replace Worn O-Rings: Install new O-rings of matching size to restore sealing function. Replacement ensures tight water containment.
- Reseat Tap Base: Reposition the tap securely onto the sink surface and tighten fixing nuts. Proper seating prevents movement and gaps.
- Apply Sealant Around Base: Apply silicone sealant around the tap base to create a waterproof barrier. Sealant prevents water seepage into the sink surface.
- Test For Leaks: Turn water supply back on and run the tap. Check for any remaining leakage around the base. Successful repair stops water escape.
What Causes Leaks Around Tap Bases?
Leaks around tap bases occur due to 6 primary causes including worn O-rings, degraded sealant, loose fixing nuts, corrosion, high water pressure above 3–5 bar, and incorrect installation, allowing water to escape at the tap-to-sink junction. Tap base leaks form when sealing components fail or when the tap body loses stable contact with the sink surface.
The causes of leaks around tap bases are given below:
- Wear O-Rings: Rubber O-rings degrade over time due to friction and water exposure. Worn O-rings fail to contain water within the tap body.
- Degrade Sealant: Silicone sealant around the tap base cracks or shrinks, creating gaps. Damaged sealant allows water to seep underneath the tap.
- Loosen Fixing Nuts: Tap fixing nuts become loose due to vibration or repeated use. Loose fittings create movement and break the seal at the base.
- Develop Corrosion: Metal components corrode due to constant moisture exposure. Corrosion weakens seals and creates leakage paths.
- Increase Water Pressure: Water pressure exceeding 3–5 bar stresses internal seals and forces water through weak points. High pressure accelerates leakage.
- Install Incorrectly: Improper tap installation creates uneven seating or gaps between the tap and sink. Incorrect fitting leads to immediate leakage.
How Do You Replace Tap Seals And Washers?
Replacing tap seals and washers requires 6 steps including water isolation, tap disassembly, washer removal, seal replacement, reassembly, and leak testing to restore watertight performance within 4–12 litres per minute systems. Tap seals and washers control water flow and prevent leakage within the tap mechanism. Wear occurs due to friction, pressure, and mineral buildup.
The steps to replace tap seals and washers are given below:
- Turn Off Water Supply: Close isolation valves under the sink to stop water flow. Shutoff prevents leakage during repair.
- Remove Tap Handle: Unscrew and detach the tap handle to access internal components. Handle removal exposes the valve mechanism.
- Extract Old Washer: Remove the worn washer from the valve seat using pliers or a screwdriver. Damaged washers cause dripping and leaks.
- Install New Washer: Fit a new washer of matching size and material into the valve seat. Correct sizing ensures proper sealing.
- Replace Tap Seals: Remove and install new O-rings or seals around the spindle or base. New seals restore watertight function.
- Reassemble Tap Components: Refit the tap parts in reverse order and tighten securely. Proper assembly ensures stable operation.
- Test For Leaks: Turn water supply back on and run the tap. Check for dripping or leakage to confirm successful repair.
How Do You Repair A Dripping Sink Tap?
Repairing a dripping sink tap requires 6 steps including water isolation, tap disassembly, cartridge or washer replacement, seal inspection, reassembly, and flow testing to stop dripping and restore controlled output within 4–12 litres per minute systems. Dripping taps occur due to worn washers, damaged cartridges, or degraded seals that fail to stop water flow completely.

The steps to repair a dripping sink tap are given below:
- Turn Off Water Supply: Close isolation valves under the sink to stop water flow. Shutoff prevents leakage during repair work.
- Remove Tap Handle: Unscrew and detach the tap handle to access the internal valve or cartridge. Handle removal exposes worn components.
- Inspect Internal Components: Check washers, cartridges, and seals for wear or damage. Faulty components cause continuous dripping.
- Replace Washer Or Cartridge: Install a new washer or cartridge that matches the tap model. Replacement restores proper water control.
- Check And Replace Seals: Replace O-rings or seals around the spindle to prevent internal leakage. New seals improve watertight performance.
- Reassemble Tap: Refit all components securely in correct order. Proper assembly ensures stable operation and prevents movement.
- Test Tap Operation: Turn water supply back on and run the tap. Confirm that dripping stops and flow operates normally.
How Do You Fix A Dripping Tap Without Replacing It?
Fixing a dripping tap without replacing it requires 5 adjustments including tightening components, reseating washers, cleaning mineral buildup, adjusting valve position, and improving seal contact to stop water leakage within 4–12 litres per minute systems. Dripping taps often result from minor misalignment, debris, or loose fittings rather than complete component failure. Correcting these issues restores sealing efficiency without full replacement.
The methods to fix a dripping tap without replacing it are given below:
- Tighten Tap Components: Secure loose handle screws and valve fittings using appropriate tools. Tight connections restore proper pressure on internal seals.
- Reseat Washer Position: Adjust the washer within the valve seat to ensure correct alignment. Proper seating improves contact and stops leakage.
- Clean Mineral Buildup: Remove limescale from internal parts using suitable cleaning methods. Clean surfaces improve seal effectiveness.
- Adjust Valve Closure: Turn the tap handle fully to ensure complete closure. Correct positioning prevents partial water flow.
- Improve Seal Contact: Apply slight tightening to increase compression on existing seals. Increased pressure improves watertight performance.
- Test Tap Function: Run the tap after adjustments to confirm that dripping stops. Successful correction restores normal operation.
When Should You Replace A Tap Rather Than Repair It?
A tap should be replaced instead of repaired in 6 conditions including severe corrosion, repeated leakage after repair, cracked body, worn internal housing, incompatible spare parts, and lifespan exceeding 10–15 years, indicating structural or functional failure within 4–12 litres per minute systems. Tap replacement becomes necessary when repair no longer restores performance or when internal and external components degrade beyond effective repair.
The situations requiring tap replacement are given below:
- Observe Severe Corrosion: Corroded tap bodies weaken structural integrity and cause persistent leaks. Material degradation cannot be restored through repair.
- Experience Repeated Leaks: Continuous leakage after multiple repairs indicates internal damage beyond seals or washers. Repeated failure requires full replacement.
- Identify Cracked Tap Body: Visible cracks in the tap housing allow water escape and reduce durability. Structural damage requires replacement.
- Detected Worn Internal Housing: Valve seats or internal chambers wear out over time, preventing proper sealing. Internal wear limits repair effectiveness.
- Lack Compatible Parts: Older tap models may not support replacement washers or cartridges. Incompatible parts prevent proper repair.
- Exceed Expected Lifespan: Taps operating beyond 10–15 years show reduced efficiency and increased failure risk. Replacement ensures reliable performance.
How Do You Fix A Clogged Or Slow-Draining Sink?
Fixing a clogged or slow-draining sink requires 7 steps including debris removal, hot water flushing, plunger use, trap cleaning, drain snake application, pipe rinsing, and flow testing to restore drainage within 5–15 seconds for 4–12 litres per minute systems. Slow drainage occurs due to buildup of grease, soap residue, hair, or food particles inside the waste pipe.

The steps to fix a clogged or slow-draining sink are given below:
- Remove Visible Debris: Clear food particles, hair, or waste from the drain opening. Surface cleaning reduces initial blockage.
- Use Hot Water Flush: Pour 3–5 litres of hot water into the drain to soften grease and soap buildup. Heat reduces blockage density.
- Apply Plunger Pressure: Use a plunger to create suction and pressure cycles. Mechanical force dislodges soft obstructions.
- Clean The Trap Pipe: Remove and clean the U-bend (trap) under the sink to eliminate accumulated debris. Trap cleaning restores flow path.
- Use Drain Snake: Insert a drain snake into the pipe to break or remove deeper blockages. Flexible cables reach internal obstructions.
- Flush With Water Again: Rinse the pipe with water after clearing debris to remove remaining particles. Flushing ensures complete removal.
- Test Drainage Speed: Run water and confirm drainage within 5–15 seconds. Normal flow indicates successful repair.
What Causes Sink Blockages And Slow Drainage?
Sink blockages and slow drainage occur due to 7 causes including grease buildup, soap residue accumulation, hair clogs, food waste deposits, foreign objects, pipe scale formation, and poor pipe gradient, restricting flow within 32–40 mm waste pipes. Drainage systems rely on clear internal pipe diameter and consistent water flow to remove waste efficiently.
The causes of sink blockages and slow drainage are given below:
- Accumulate Grease Buildup: Grease from food solidifies inside pipes and narrows internal diameter. Hardened grease restricts water movement.
- Collect Soap Residue: Soap combines with minerals to form solid deposits along pipe walls. Residue buildup reduces flow capacity.
- Trap Hair Clogs: Hair binds with grease and soap to create dense obstructions in the trap and pipe. Hair accumulation blocks water passage.
- Deposit Food Waste: Food particles settle in the trap or pipe and create blockage over time. Organic buildup slows drainage.
- Introduce Foreign Objects: Small items such as plastic, packaging, or debris obstruct the pipe and prevent water flow.
- Form Pipe Scale: Mineral deposits build up inside pipes due to hard water, reducing internal diameter. Scale formation restricts flow.
- Install Poor Pipe Gradient: Incorrect pipe slope reduces water velocity and allows waste to settle. Poor gradient increases blockage risk.
How Do You Use A Plunger On A Sink?
Using a plunger on a sink requires 6 steps including water level adjustment, overflow sealing, plunger positioning, pressure strokes, suction cycles, and drainage testing to dislodge blockages and restore flow within 5–15 seconds. Sink plunging works by forcing water through the waste pipe to break or shift the obstruction.
The steps to use a plunger on a sink are given below:
- Adjust Water Level: Fill the sink with enough water to cover the plunger cup. Adequate water improves pressure transfer during plunging.
- Seal Overflow Opening: Block the overflow hole using a cloth or tape to prevent air escape. Sealing increases suction efficiency.
- Position Plunger Correctly: Place the plunger over the drain opening and create a tight seal. Proper positioning ensures effective force application.
- Apply Downward Pressure: Push the plunger firmly to force water into the pipe. Pressure loosens and compresses the blockage.
- Create Suction Cycles: Pull the plunger upward without breaking the seal to generate vacuum force. Repeated suction dislodges debris.
- Repeat Controlled Movements: Perform 10–15 plunging cycles with consistent rhythm. Repetition increases success rate.
- Test Drainage Flow: Remove the plunger and run water to check drainage speed. Normal flow confirms successful unblocking.
How Does Baking Soda And Vinegar Clear Drains?
Baking soda and vinegar clear drains by producing a carbon dioxide reaction that agitates and loosens organic debris, reducing blockage density and improving flow within 15–30 minutes in partially restricted 32–40 mm waste pipes. The method uses an acid–base reaction between sodium bicarbonate and acetic acid.

The mechanism of baking soda and vinegar clearing drains is given below:
- Create Chemical Reaction: Mixing 200–300 g baking soda with 300–500 ml vinegar produces carbon dioxide bubbles. Gas formation agitates blockage material.
- Loosen Organic Debris: Foaming action breaks apart grease, soap residue, and food particles inside the pipe. Reduced density improves movement.
- Improve Water Flow: Loosened debris allows water to pass more freely through the pipe. Flow improves after reaction completion.
- Support Partial Blockages: Method works best for mild or moderate clogs rather than solid obstructions. Severe blockages require mechanical tools.
- Enhance With Hot Water: Pouring 3–5 litres of hot water after reaction flushes loosened material through the pipe. Combined action increases effectiveness.
- Maintain Pipe Safety: Non-corrosive reaction prevents damage to pipes and seals. The safe method supports regular maintenance use.
What Causes Sink Overflow Leaks?
Sink overflow leaks occur due to 6 causes including blocked overflow channels, cracked overflow pipes, loose connections, damaged seals, excessive water pressure above 3–5 bar, and improper installation, allowing water to escape from the overflow system. Overflow systems direct excess water from the basin to the drain through internal channels and connecting pipes.
The causes of sink overflow leaks are given below:
- Block Overflow Channels: Debris, soap residue, or buildup restricts water movement through the overflow passage. Blockage causes water to back up and leak externally.
- Crack Overflow Pipe: Physical damage to the internal overflow pipe allows water to escape before reaching the drain. Cracks create direct leakage paths.
- Loosen Pipe Connections: Connections between overflow channels and waste pipes become loose over time. Loose fittings allow water to leak at joints.
- Damage Seals And Gaskets: Worn or perished seals around overflow connections fail to contain water. Seal failure leads to leakage under pressure.
- Increase Water Pressure: Water pressure above 3–5 bar forces excess water through weak points in the overflow system. High pressure accelerates leakage.
- Install Incorrectly: Improper alignment or fitting of overflow components creates gaps and weak connections. Incorrect installation causes immediate leakage.
How Do You Fix Leaks Under A Sink?
Fixing leaks under a sink requires 6 steps including water isolation, leak source identification, joint tightening, seal replacement, pipe repair, and flow testing to restore watertight performance within 4–12 litres per minute systems. Leaks under a sink occur at pipe joints, trap connections, or supply lines due to loose fittings, worn seals, or damaged pipes.
The steps to fix leaks under a sink are given below:
- Turn Off Water Supply: Close isolation valves under the sink to stop water flow. Shutoff prevents further leakage during repair.
- Identify Leak Source: Inspect pipes, joints, and connections to locate active dripping or moisture. Accurate identification ensures correct repair.
- Tighten Loose Connections: Use an adjustable spanner to secure nuts and fittings. Tight connections prevent water escape at joints.
- Replace Worn Seals: Remove damaged washers or O-rings and install new ones. New seals restore watertight connections.
- Repair Or Replace Damaged Pipes: Replace cracked or corroded sections of pipe. Structural repair prevents ongoing leakage.
- Apply PTFE Tape Or Sealant: Wrap threads with plumber’s tape or apply sealant to improve joint sealing. Additional sealing prevents leaks.
- Test Water Flow: Turn water supply back on and check for leaks. Stable flow without dripping confirms successful repair.
What Causes Under-Sink Leaks?
Under-sink leaks occur due to 7 primary causes including loose pipe connections, worn washers, damaged O-rings, cracked pipes, corroded fittings, high water pressure above 3–5 bar, and blocked waste pipes causing backflow within 32–40 mm drainage systems. Under-sink plumbing includes supply lines, waste pipes, traps, and connection joints. Failure in any component allows water to escape. Continuous exposure to moisture accelerates wear in seals and fittings.
The causes of under-sink leaks are given below:
- Loosen Pipe Connections: Nuts and joints loosen over time due to vibration and usage. Loose fittings allow water to leak at connection points.
- Wear Washers: Rubber washers degrade due to pressure and friction. Worn washers fail to seal connections properly.
- Damage O-Rings: O-rings crack or lose elasticity with age. Damaged O-rings create gaps that allow water escape.
- Crack Pipes: Plastic or metal pipes develop cracks due to impact or wear. Cracks create direct leakage points.
- Corrode Metal Fittings: Metal components rust due to continuous moisture exposure. Corrosion weakens structure and causes leaks.
- Increase Water Pressure: Pressure above 3–5 bar stresses joints and seals. Excess pressure forces water through weak points.
- Block Waste Pipe: Blockages cause water to back up into the trap and leak at joints. Restricted flow increases internal pressure.
How Do You Fix Leaking Sink Connections?
Fixing leaking sink connections requires 6 steps including water isolation, joint disassembly, thread cleaning, seal replacement, reconnection with PTFE tape, and pressure testing to restore watertight joints within 4–12 litres per minute systems. Leaking connections occur at threaded joints, compression fittings, or trap unions due to wear, debris, or improper sealing. Correct repair restores sealing integrity and prevents recurring leakage.

The steps to fix leaking sink connections are given below:
- Turn Off Water Supply: Close isolation valves to stop water flow before working on connections. Shutoff prevents further leakage.
- Disassemble Leaking Joint: Unscrew the affected connection using an adjustable spanner. Disassembly exposes threads and sealing surfaces.
- Clean Threads And Surfaces: Remove debris, old tape, and residue from threads and joint faces. Clean surfaces improve sealing effectiveness.
- Replace Seals Or Washers: Install new washers or O-rings where required. New seals restore watertight contact between fittings.
- Apply PTFE Tape: Wrap PTFE tape around threaded connections 6–10 turns to improve sealing. Proper wrapping prevents leaks at joints.
- Reconnect And Tighten Fittings: Reassemble the joint and tighten securely without overtightening. Correct tension ensures stable sealing.
- Test Under Pressure: Turn water supply back on and observe for leaks. Stable joints confirm successful repair.
How Do You Replace A Sink Trap?
Replacing a sink trap requires 7 steps including water isolation, bucket placement, trap removal, component inspection, new trap fitting, seal tightening, and flow testing to restore proper drainage within 5–15 seconds in 32–40 mm waste pipe systems. A sink trap (U-bend or P-trap) holds water to block sewer gases and collects debris.
The steps to replace a sink trap are given below:
- Turn Off Water Supply: Close isolation valves to prevent accidental water flow during removal. Shutoff ensures safe working conditions.
- Place Bucket Under Trap: Position a bucket beneath the trap to collect residual water and debris. Containment prevents spillage.
- Remove Old Trap: Unscrew the trap nuts by hand or with pliers and detach the trap from the waste pipe. Removal exposes connection points.
- Inspect Connecting Pipes: Check adjacent pipes for damage, buildup, or misalignment. Inspection ensures compatibility with the new trap.
- Install New Trap Unit: Position the new trap and align it with inlet and outlet pipes. Correct alignment ensures smooth drainage.
- Tighten Connections And Seals: Secure all joints using washers and hand-tighten nuts. Proper sealing prevents leakage.
- Test Drainage Flow: Run water through the sink and confirm drainage within 5–15 seconds. Leak-free operation indicates successful installation.
What Is A Sink Trap And Its Function?
A sink trap is a curved pipe section, typically U-bend or P-trap, that holds a water seal to block sewer gases while allowing wastewater to pass through, maintaining drainage flow within 32–40 mm waste pipe systems. A sink trap forms part of the drainage system directly below the basin. The curved design retains a small volume of water after each use.
The functions of a sink trap are given below:
- Block Sewer Gases: The water seal inside the trap prevents foul odours from travelling back through the drain. The seal acts as a physical barrier against gases.
- Allow Wastewater Flow: The trap permits water and waste to pass through while maintaining continuous drainage. Flow occurs around the retained water section.
- Collect Debris: The trap captures small objects such as rings or debris before they enter deeper pipes. Collection allows easy retrieval during maintenance.
- Prevent Pipe Contamination: The water barrier limits gas exchange between the drainage system and indoor space. Controlled separation improves hygiene.
- Support Maintenance Access: The removable trap design allows cleaning and blockage removal. Easy access simplifies repair and maintenance tasks.
How Do You Fix A Cracked Or Damaged Sink Basin?
Fixing a cracked or damaged sink basin requires 6 steps including damage assessment, surface cleaning, crack filling, curing, smoothing, and sealing to restore surface integrity in ceramic, composite, or stainless steel sinks. Sink basin damage occurs due to impact, thermal stress, or material fatigue. The repair method depends on material type and crack severity.

The steps to fix a cracked or damaged sink basin are given below:
- Assess Damage Severity: Inspect the crack length, depth, and location. Minor surface cracks allow repair, while deep structural cracks require replacement.
- Clean Damaged Area: Remove dirt, grease, and moisture from the crack using a cleaning solution. Clean surfaces improve filler adhesion.
- Apply Repair Filler: Use epoxy resin or specialised sink repair compound to fill the crack. Filler bonds damaged surfaces and restores structure.
- Allow Material To Cure: Leave the repair compound to cure for 12–24 hours depending on product type. Proper curing ensures strength and durability.
- Smooth Repaired Surface: Sand the repaired area using fine-grit sandpaper to achieve a level finish. Smooth surfaces improve appearance and usability.
- Seal And Protect Surface: Apply sealant or protective coating over the repair area. Sealing prevents water penetration and extends repair lifespan.
- Test For Leaks: Run water and check for leakage around the repaired area. Leak-free operation confirms successful repair.
How Do You Prevent Future Sink Problems?
Preventing future sink problems requires 7 actions including regular cleaning, controlled usage, debris filtering, descaling, seal maintenance, pressure control, and routine inspection to maintain stable flow within 4–12 litres per minute and clear drainage in 32–40 mm pipes. Sink performance depends on unobstructed drainage, sealed joints, and consistent water pressure.
The methods to prevent future sink problems are given below:
- Clean Sink Regularly: Remove grease, soap residue, and debris from the basin and drain weekly. Regular cleaning prevents buildup inside pipes.
- Control Waste Disposal: Avoid disposing of food waste, grease, or non-dissolvable items into the sink. Proper disposal reduces blockage risk.
- Use Drain Filters: Install strainers to catch hair, food particles, and debris before entering the pipe. Filtering prevents internal obstruction.
- Descale Pipes And Fixtures: Remove mineral buildup every 2–4 weeks in hard water areas. Descaling maintains pipe diameter and flow efficiency.
- Maintain Seals And Joints: Inspect and replace worn washers, O-rings, and sealant to prevent leaks. Proper sealing ensures watertight performance.
- Control Water Pressure: Maintain pressure within 3–5 bar to reduce stress on pipes and fittings. Balanced pressure prevents damage.
- Inspect System Regularly: Check for slow drainage, leaks, or unusual sounds. Early detection prevents major repair issues.
Summing Up
Repairing a sink restores proper water flow, drainage efficiency, and watertight performance when faults such as leaks, blockages, dripping taps, and damaged components are identified and fixed using correct methods across 4–12 litres per minute systems.
Sink issues develop due to worn seals, loose connections, grease buildup, or material damage within taps, pipes, and basins. Accurate diagnosis through leak checks, drainage testing, and pressure assessment ensures correct repair action. Effective repairs include replacing washers and O-rings, tightening fittings, clearing blockages, cleaning traps, and resealing joints.
Different sink types require specific approaches based on installation and access. Preventative care such as regular cleaning, descaling, proper waste disposal, and routine inspection maintains pipe diameter and reduces wear on components. Consistent maintenance and timely repairs ensure reliable sink performance and prevent recurring problems across daily use.