Tap washer replacement stops a dripping compression tap by restoring a tight seal between a new tap washer and a smooth valve seat after water isolation, controlled dismantling, accurate washer sizing, correct washer seating, careful reassembly, and leak testing under pressure. Bathroom Mountain guidance applies to compression taps, because cartridge taps and thermostatic mixing valves use cartridges and seals rather than tap washers. Safe preparation starts by closing hot and cold isolation valves, draining residual pressure, and reducing scald exposure.
Replacement accuracy depends on four checks: washer outer diameter, inner hole diameter, thickness, and washer profile type. Correct installation requires clean spindle recess seating, firm retainer screw tightening without washer distortion, and valve seat inspection for scale, scoring, and pitting. Post-repair validation requires gradual water restoration, a 60-second spout drip check, cap nut seepage inspection, under-sink fitting inspection, and repeated open–close cycling. Repeat dripping usually links to wrong washer size, wrong washer profile, debris on sealing faces, valve seat damage, or overtightening.
What Is A Tap Washer And Why Does It Need Changing?
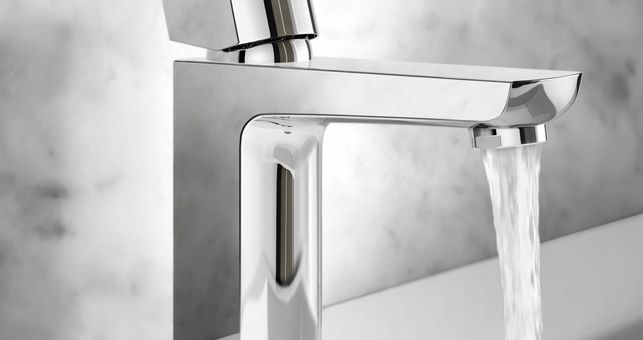
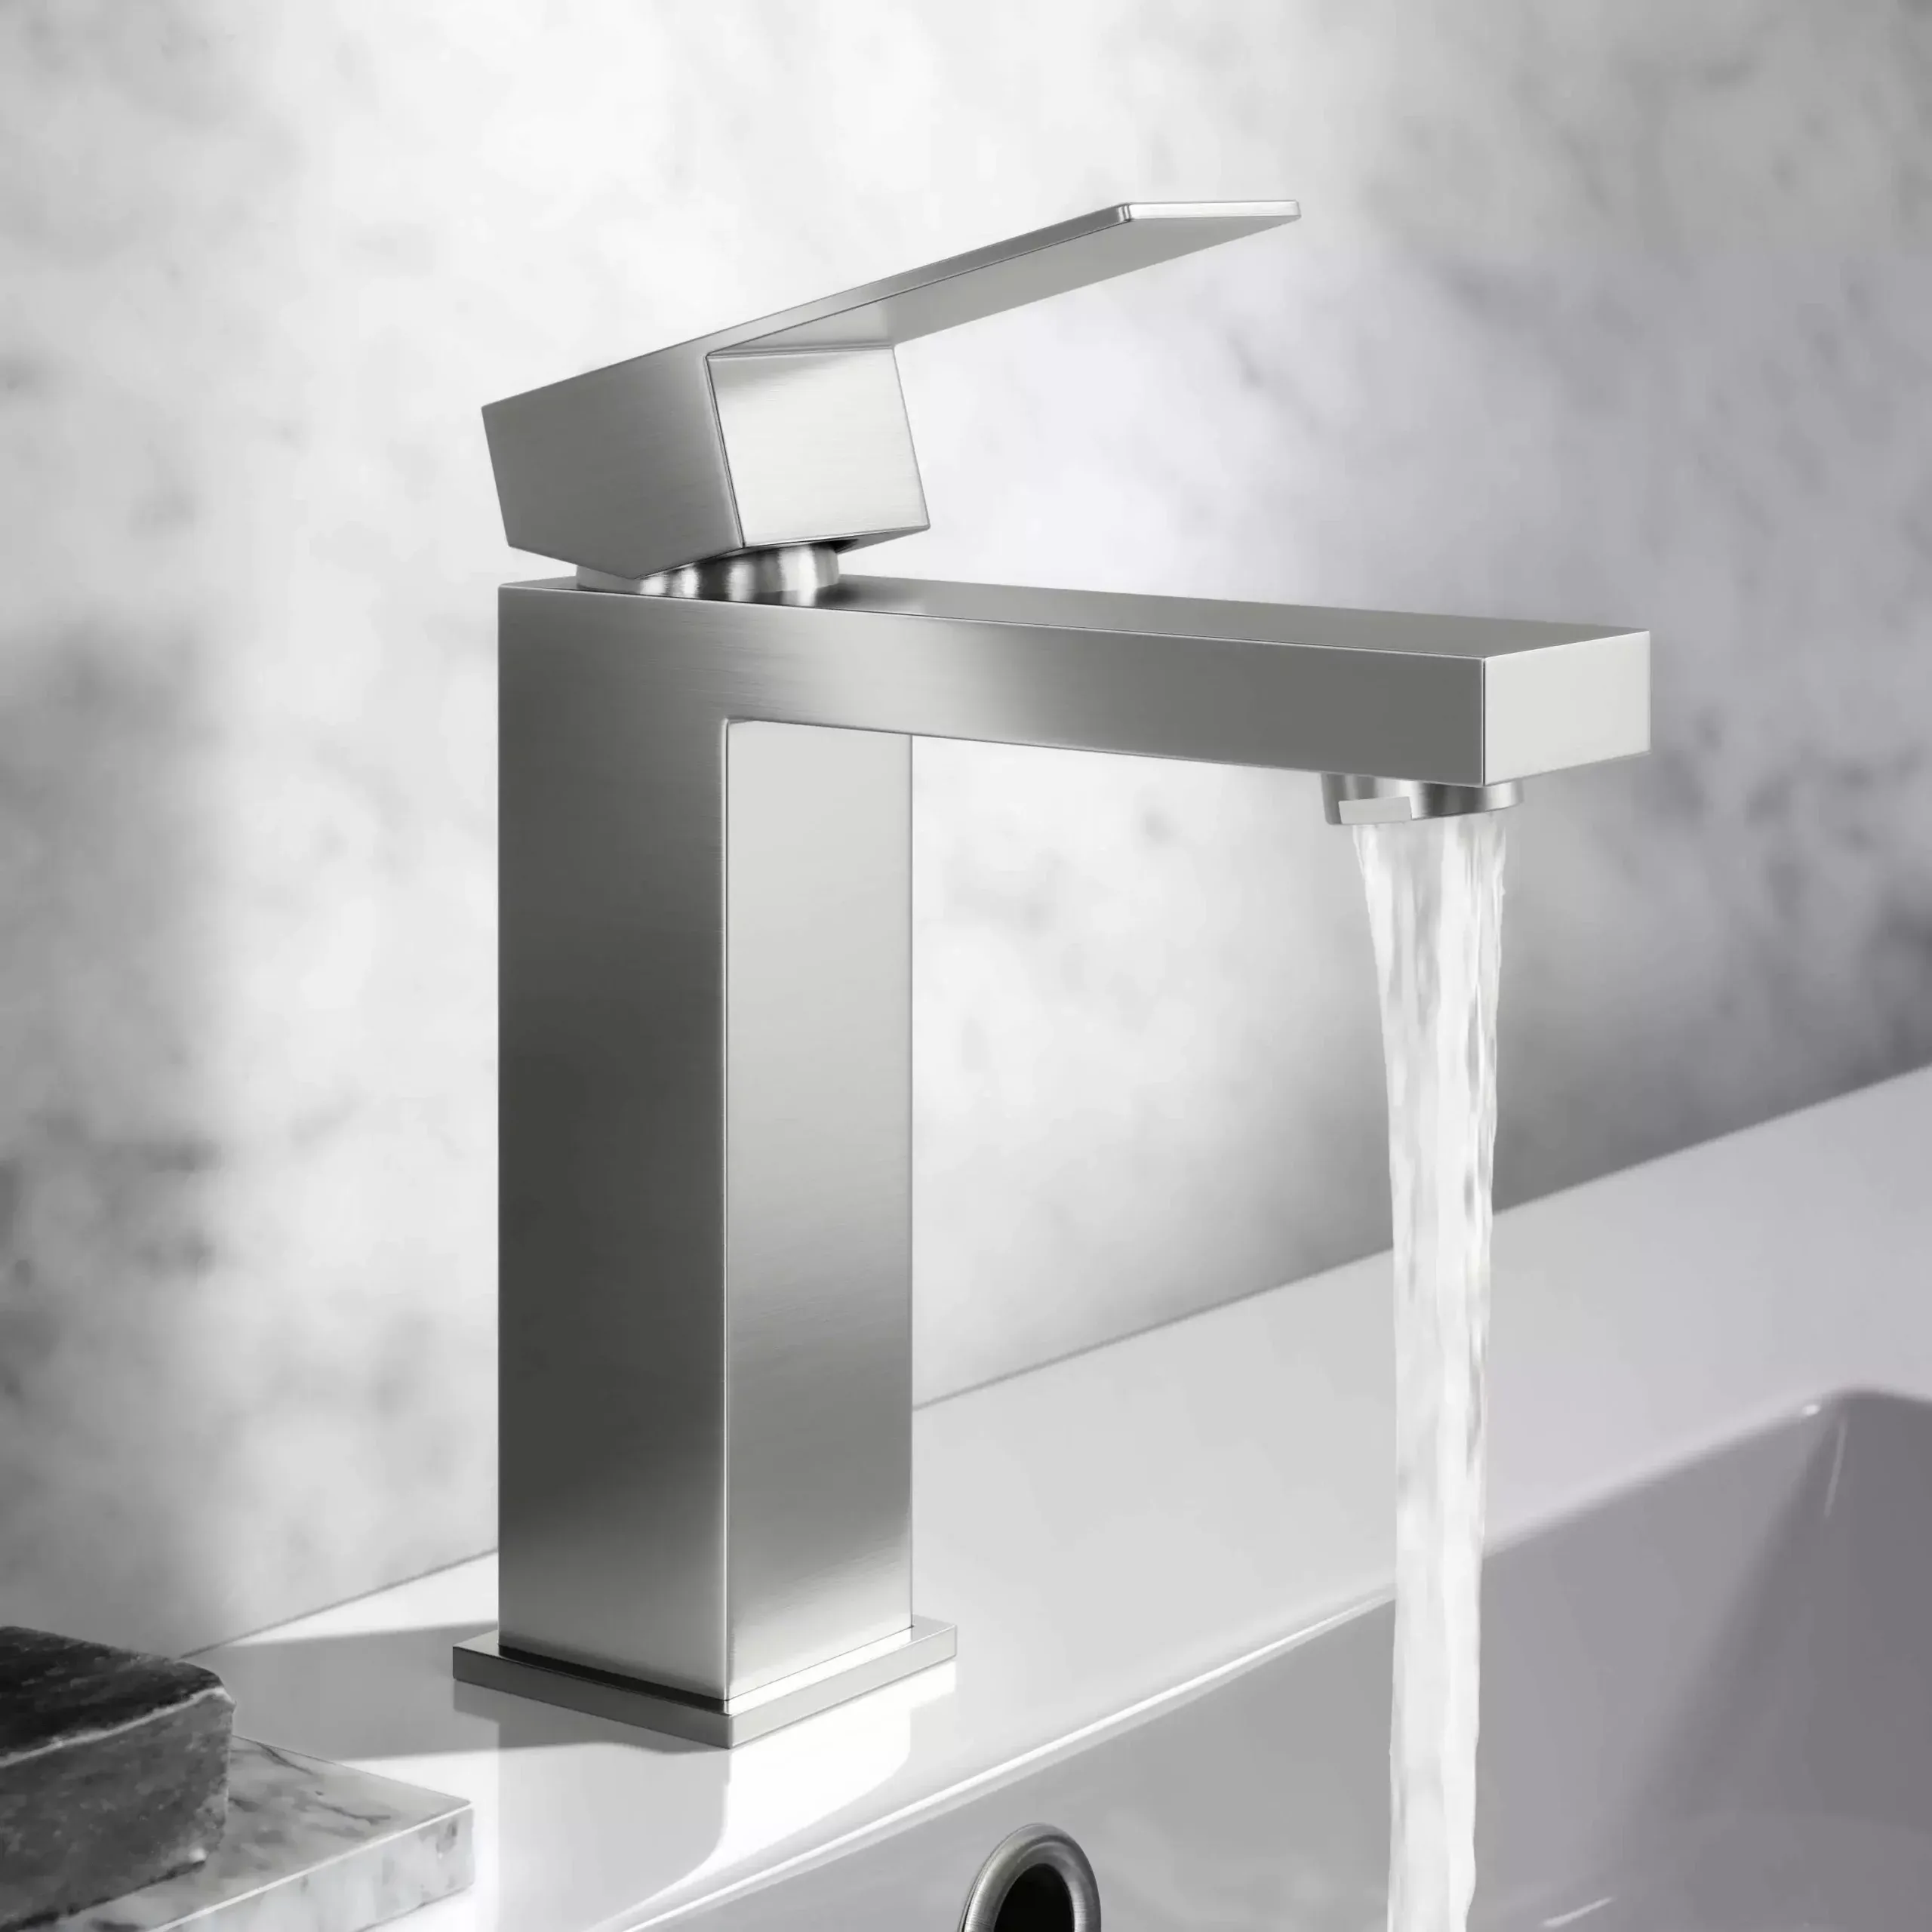
A tap washer is a compressible sealing disc inside a compression tap that stops water flow by pressing against a valve seat, and tap washer changing becomes necessary when surface wear, hardening, or deformation prevents full sealing and causes persistent dripping. Tap washer function depends on tight surface contact between washer face and valve seat metal. Repeated rotation cycles increase frictional wear. Elevated hot water temperatures accelerate elastomer degradation. Mineral deposits score the sealing interface. Seal failure leads to measurable water discharge from the spout even in the fully closed position.
Compression Tap Function
Compression tap function relies on a threaded spindle that lowers a washer onto a fixed brass tap’s valve seat. Rotational torque converts into vertical pressure. Washer material compresses to block the water aperture. Full sealing requires flat, undamaged contact surfaces. Seal efficiency declines when washer thickness reduces or edges distort.
Material Degradation Causes
Material degradation causes include mechanical abrasion, thermal cycling, chemical exposure, and over-tightening force. Rubber washers lose elasticity after extended exposure to hot water above 60°C. Fibre washers absorb moisture and deform under pressure. Excess torque flattens washer geometry and weakens sealing edges. Surface cracks permit micro-leak channels.
Valve Seat Interaction
Valve seat interaction determines sealing quality because the washer must contact a smooth brass seat. Corrosion pits create uneven pressure zones. The mineral scale forms rigid deposits along the sealing ring. Debris particles score the washer face during closure. Uneven surfaces prevent uniform compression and allow bypass flow.
Drip Formation Mechanics
Drip formation mechanics begin when incomplete sealing leaves a micro-gap between washer and seat. Water pressure forces liquid through the smallest opening. Surface tension gathers droplets at the spout lip. Gravity releases droplets at regular intervals. One drip per second discharges measurable daily water volume.
Water Loss Impact
Water loss impact becomes significant over time because continuous dripping accumulates into annual wastage. According to the United States Environmental Protection Agency WaterSense programme, one drip per second exceeds 11,000 litres per year. Household leakage increases utility consumption. Meter readings reflect higher usage even without visible flow.
How Do You Know When Your Tap Washer Needs Replacing?

A tap washer needs replacing when a compression tap continues dripping after full closure, when handle resistance increases abnormally, or when sealing pressure fails to stop water flow completely. Persistent leakage signals incomplete washer-to-seat contact. Increased torque signals material hardening. Extended handle travel signals washer compression loss.
- Constant Spout Drip: Constant spout drip indicates worn sealing edges on the tap washer. Droplets form at uniform intervals after full clockwise closure. Water discharge continues without handling movement.
- Increased Closing Force: Increased closing force signals washer hardening or deformation. Handle rotation requires higher torque near the closed position. Excessive tightening becomes necessary to reduce leakage.
- Extended Handle Travel: Extended handle travel indicates reduced washer thickness due to compression wear. The handle rotates further than the original stopping limit. Additional spindle movement becomes necessary to slow flow.
- Intermittent Leak Return: Intermittent leak return confirms unstable sealing contact between washer and valve seat. The drip stops temporarily after forceful tightening. Drip resumes without additional rotation.
- Audible Squeaking Noise: Audible squeaking noise signals friction between a hardened washer and a metal valve seat. Sound occurs during opening or closure motion. Surface vibration increases as elastomer stiffness rises.
- Visible Washer Damage: Visible washer damage confirms physical deterioration after disassembly. Flattened outer edges replace the original profile. Circumferential cracks appear along the sealing face.
What Tools And Materials Do You Need To Change A Tap Washer?
Changing a tap washer requires basic hand tools and a correctly sized replacement washer to safely dismantle the compression tap, remove the worn sealing disc, and restore full sealing contact with the valve seat. Tool selection prevents surface damage and thread distortion. Correct washer sizing ensures proper spindle compression. Protective materials preserve plated finishes. Each item supports controlled disassembly and accurate reassembly.
- Adjustable Spanner: Adjustable spanner loosens and tightens the tap cap nut that secures the spindle assembly. Smooth jaw alignment reduces chrome scratching. Controlled torque prevents thread stripping.
- Flathead Screwdriver: Flathead screwdriver removes the handle retaining screw located beneath decorative caps. Precise tip width prevents screw head damage. Stable grip reduces slipping during counter-clockwise rotation.
- Replacement Tap Washer: Replacement tap washer restores the sealing interface between spindle base and valve seat. The diameter must match the removed washer exactly. Thickness must maintain original spindle travel.
- Protective Cloth: Protective cloth shields chrome or brushed metal finishes during cap nut loosening. Cloth barrier distributes wrench pressure evenly. Surface protection prevents cosmetic scoring. Finish preservation maintains tap appearance after maintenance.
- Needle-Nose Pliers: Needle-nose pliers extract damaged washer fragments or small retaining screws. Narrow jaws reach confined spindle recesses. Firm grip prevents part loss inside the tap body. Controlled extraction avoids thread or seat damage.
- Isolation Valve Access: Isolation valve access enables water supply shutoff before dismantling. Under-sink valves control hot and cold lines independently. Full closure prevents uncontrolled discharge during spindle removal.
What Are The Different Types Of Tap Washers Available In The UK?
Tap washers available in the UK include flat washers, conical washers, jumper valve washers, fibre washers, and ceramic disc seals, each designed to match a specific tap mechanism and sealing geometry. Washer selection depends on tap type, spindle design, and valve seat profile.
- Flat Washers: Flat washers use a uniform circular sealing face that presses directly onto a flat brass valve seat. Flat profile suits many traditional pillar and basin taps. Outer diameters commonly measure 12 mm, 15 mm, or 18 mm. Even surface contact determines sealing efficiency.
- Conical Washers: Conical washers feature a tapered sealing face that fits angled or recessed valve seats. Tapered geometry concentrates pressure at a defined ring. Conical profile suits certain older spindle assemblies.
- Jumper Valve Washers: Jumper valve washers attach to a movable jumper mechanism inside some compression taps. Jumper assembly lifts and lowers with spindle rotation. Integrated design improves alignment during closure.
- Fibre Washers: Fibre washers consist of compressed composite material rather than rubber. Fibre composition resists high-temperature distortion in hot water lines. Reduced elasticity requires precise torque during closure. Fibre profile appears in some heavy-duty or commercial tap designs.
- Rubber Washers: Rubber washers use elastomer material to provide flexible sealing under compression. Elastic recovery supports repeated open–close cycles. Material hardness varies between soft and medium grades.
- Ceramic Disc Seals: Ceramic disc seals operate within quarter-turn ceramic cartridge taps rather than traditional compression taps. Dual ceramic plates slide to regulate flow. Ceramic interface eliminates washer compression. Cartridge replacement substitutes for washer changing in modern tap systems.
- Bib Tap Washers: Bib tap washers suit outdoor or utility bib taps with extended spindle assemblies. Larger diameter washers accommodate higher flow rates.
How Do You Turn Off The Water Supply Before Changing A Tap Washer?

Turning off the water supply before changing a tap washer requires closing the nearest isolation valve or the internal stop valve and fully draining residual pressure from the tap. Controlled isolation prevents uncontrolled discharge during spindle removal. Independent hot and cold supplies require separate closure. Pressure release protects threads and internal components. Complete shutdown ensures safe tap washer replacement.
- Locate Isolation Valves: Locate isolation valves beneath the basin or sink on both hot and cold supply pipes. Isolation valves usually feature a slot-head screw or lever handle. Clockwise rotation closes the valve. Full closure stops water flow to the tap body.
- Close Stop Valve: Close the internal stop valve if no local isolation valve exists. The stop valve typically sits near the water meter or where the mains supply enters the property. Clockwise rotation restricts household water supply. Complete shutoff protects all fixtures during repair.
- Drain Residual Pressure: Drain residual pressure by opening the tap after valve closure. Remaining water inside pipework flows out briefly. Flow reduction to zero confirms successful isolation. Pressure release prevents sudden spray during cap nut removal.
- Test Supply Isolation: Test supply isolation by attempting to run both hot and cold taps. Absence of sustained flow confirms correct valve closure. Minor residual drips may occur during final drainage. Continuous flow signals incomplete shutoff.
- Protect Work Area: Protect work area by placing a cloth or container beneath the tap. Residual water may escape during spindle extraction. Containment prevents cabinet or surface damage. Controlled workspace improves repair efficiency.
What Is The Step-By-Step Process For Removing A Tap Head?
Removing a tap head requires isolating the water supply, exposing the retaining screw, loosening the handle assembly, and lifting the tap head from the spindle without damaging the finish or internal threads. Controlled removal protects chrome plating. Correct sequence prevents spindle distortion. Proper grip avoids handle cracking. Careful lifting exposes the compression mechanism for tap washer access.
- Confirm Water Isolation: Confirm water isolation before touching the tap head. Turn the tap to the open position to release remaining pressure. Absence of flowing water confirms safe handling. Dry internal components prevent accidental discharge during dismantling.
- Remove Decorative Cap: Remove decorative cap from the centre of the tap head using a flat screwdriver tip. Insert the blade carefully under the edge. Lift gently to avoid surface marking. Cap removal exposes the retaining screw.
- Unscrew Retaining Screw: Unscrew retaining screw using a correctly sized screwdriver. Rotate counter-clockwise with steady pressure. Maintain vertical alignment to prevent screw head stripping. Complete removal frees the tap head from the spindle.
- Loosen Tap Head Grip: Loosen tap head grip by pulling upward evenly. Apply firm but controlled force. Wiggle slightly if mineral deposits restrict movement. Avoid twisting force that may damage internal splines.
- Lift Tap Head Off: Lift tap head off the spindle once resistance releases. Inspect internal splines for wear. Check the spindle top for corrosion or debris. Clear access to the compression assembly confirms successful removal.
How Do You Access And Remove The Old Tap Washer?
Accessing and removing the old tap washer requires loosening the cap nut, unscrewing the spindle assembly, exposing the washer at the spindle base, and detaching the worn sealing disc without damaging the valve seat. Correct disassembly sequence prevents thread distortion. Controlled torque protects chrome surfaces. Full spindle extraction reveals washer condition. Careful removal preserves seat integrity for proper resealing.
- Loosen Cap Nut: Loosen cap nut using an adjustable spanner with a protective cloth barrier. Turn counter-clockwise with steady pressure. Cap nut removal releases the spindle housing. Even force prevents rounding of hex edges.
- Unscrew Spindle Assembly: Unscrew spindle assembly by rotating counter-clockwise after cap nut removal. Lift spindle vertically from the tap body. Thread disengagement exposes the internal compression mechanism. Clean extraction prevents cross-threading during reassembly.
- Expose Washer Base: Expose washer base located at the lower end of the spindle. The washer typically sits beneath a small retaining screw. Position spindle on a flat surface for stability. Clear visibility ensures accurate identification of washer type.
- Remove Retaining Screw: Remove retaining screw using a correctly sized screwdriver. Rotate counter-clockwise with firm alignment. Secure screw placement prevents loss. Screw removal frees the worn washer from the spindle.
- Detach Worn Washer: Detach worn washer by lifting from the spindle recess. Remove all rubber fragments if deterioration has occurred. Inspect centre hole for elongation. Complete removal prevents debris interference during installation.
What Measurements Should You Take Before Buying A Replacement Washer?

Replacement washer selection requires measuring washer outer diameter, inner hole diameter, thickness, and washer profile to match the original spindle geometry and valve seat contact area. Accurate measurement prevents incomplete sealing. Thickness control preserves spindle travel distance. Profile matching maintains sealing pressure distribution.
- Outer Diameter: Outer diameter determines sealing coverage across the valve seat. Measure the widest edge of the removed washer in millimetres. Common domestic sizes include 12 mm, 15 mm, and 18 mm.
- Inner Hole Diameter: Inner hole diameter determines fit on the spindle post or washer screw seat. Measure the centre opening across its widest point. Oversized holes cause washer movement during closure.
- Washer Thickness: Washer thickness controls how far the spindle must travel to create full compression. Measure thickness at the thickest intact section. Thinner washers increase handling travel and reduce closure efficiency.
- Washer Profile Type: Washer profile type defines sealing geometry against the valve seat. Identify flat profile or conical profile by comparing the washer face shape. Incorrect profile concentrates pressure at the wrong point.
- Washer Material: Washer material affects elasticity, heat resistance, and wear rate. Identify rubber, fibre, or composite material based on texture and stiffness. Hot water exposure hardens rubber faster than cold line use.
How Do You Install A New Tap Washer Correctly?
Installing a new tap washer correctly requires seating a size-matched washer flat against the spindle base, securing the retainer screw firmly without distortion, and reassembling the spindle so the washer compresses evenly against a smooth valve seat. Flat seating prevents bypass gaps.
- Confirm Washer Match: Confirm washer match using outer diameter, inner hole diameter, thickness, and profile type against the removed washer. Flat washers must match flat seats. Conical washers must match tapered seats. Correct matching preserves sealing geometry and spindle travel distance.
- Clean Spindle Base: Clean spindle base using a dry cloth to remove grit, rubber fragments, and mineral residue. Debris under the washer creates uneven contact pressure. Uneven seating forms micro-channels for leakage. Clean contact surfaces support uniform compression.
- Seat Washer Flat: Seat washer flat against the spindle recess so the full sealing face contacts the spindle base. Centre the washer hole precisely on the retainer post. Flat seating prevents tilt. Tilt creates partial contact with the valve seat and causes continued dripping.
- Secure Retainer Screw: Secure retainer screw using firm, controlled tightening. The screw head must hold the washer without cutting into the material. Excess torque splits rubber or distorts fibre washers. Correct tension prevents washer rotation during tap closure.
- Inspect Valve Seat: Inspect valve seat inside the tap body for pitting, scale, or debris. A smooth metal surface enables uniform compression. Rough seats cut the washer face during closure. Seat defects reduce the lifespan of the new washer.
What Should You Do After Installing The New Washer?
Post-installation checks require restoring the water supply gradually, testing for spout dripping and cap nut seepage under full pressure, and confirming smooth handle operation without excessive closing force. Controlled re-pressurisation prevents sudden leaks.
- Restore Water Supply: Restore water supply by opening the isolation valve slowly. Gradual opening stabilises pressure inside the tap body. Sudden pressurisation exposes weak threads and loose joints. Full supply restoration enables accurate leak testing.
- Purge Air From Lines: Purge air from lines by opening the tap slightly for 10–20 seconds. Air release prevents spluttering and pressure spikes. Stable flow confirms normal line fill. Clean flow improves final leak detection accuracy.
- Test Spout Drip: Test spout drip by closing the tap fully and observing the spout outlet for at least 60 seconds. Zero droplets confirm full washer-to-seat contact. Regular dripping indicates seat damage or washer mismatch. Intermittent dripping indicates debris on the sealing face.
- Check Cap Nut Seepage: Check cap nut seepage by inspecting the joint around the cap nut and spindle entry point. Moisture at this point signals packing or thread seepage. Minor seepage requires a small tightening adjustment. Persistent seepage signals packing wear or damaged threads.
- Confirm Handle Operation: Confirm handle operation by rotating from fully open to fully closed twice. Smooth rotation indicates correct alignment and lubrication state. Excess resistance indicates overtightened cap nut or mis-threaded spindle. Free movement supports normal washer compression behaviour.
- Recheck After Use: Recheck after use by inspecting for drips after 24 hours of normal operation. Heat cycling and pressure variation expose marginal sealing. Early recheck prevents prolonged water loss. Stable performance confirms successful washer installation.
How Do You Reassemble The Tap Head And Restore Water Supply?

Tap head reassembly and water supply restoration require refitting the spindle assembly, tightening the cap nut to a leak-free seal level, reinstalling the tap head securely, and reopening isolation valves gradually to test sealing under pressure. Correct thread alignment prevents cross-threading.
- Refit Spindle Assembly: Refit spindle assembly by threading the spindle into the tap body clockwise with straight alignment. Full seating positions the new washer directly above the valve seat.
- Tighten Cap Nut Carefully: Tighten cap nut carefully using an adjustable spanner with a protective cloth barrier. Firm tightening seals the spindle entry point without compressing packing excessively. Over-tightening increases handle resistance and accelerates wear. Correct tightening stops seepage at the cap nut joint.
- Reinstall Tap Head: Reinstall tap head by aligning internal splines with the spindle top and pressing down evenly. Full seating prevents wobble during rotation. Correct alignment ensures handle travel matches spindle movement.
- Secure Retaining Screw: Secure retaining screw by inserting the screw and tightening to a firm stop without stripping the head. Screw retention locks the tap head to the spindle.
- Refit Decorative Cap: Refit decorative cap by pressing into place until flush. Cap placement protects the screw from moisture and corrosion. Flush seating maintains finish consistency. Correct placement prevents cap loss during routine use.
- Restore Water Supply Slowly: Restore water supply slowly by opening isolation valves gradually. Gradual opening stabilises pressure and reduces sudden leak events. Full opening restores normal flow rate.
What Common Mistakes Should You Avoid When Changing A Tap Washer?
Tap washer replacement fails when incorrect washer sizing, incomplete water isolation, thread damage, or valve seat neglect prevents full sealing between the new washer and the valve seat. Many failures start with rushed dismantling. Many failures continue through poor surface preparation. Excessive tightening damages washers and spindles.
- Skipping Water Isolation: Skipping water isolation causes pressurised discharge during spindle removal. Water flow floods cabinets and floors. Sudden pressure movement damages internal threads.
- Wrong Washer Size: Wrong washer size prevents full sealing contact on the valve seat. Undersized washers allow bypass flow around the sealing face. Oversized washers buckle and distort during compression.
- Wrong Washer Profile: Wrong washer profile creates uneven pressure distribution on the valve seat. Flat washers fail on tapered seats. Conical washers fail on flat seats.
- Overtightening Components: Overtightening components distorts washer geometry and accelerates material splitting. Excess torque rounds cap nut flats and damages threads. Excess closing force scores valve seats and hardens elastomers faster. Controlled tightening to leak-free level protects components and sealing surfaces.
- Damaging Chrome Finish: Damaging chrome finish occurs when wrench jaws contact plated surfaces without protection. Scratches and gouges reduce appearance quality.
- Ignoring Valve Seat Condition: Ignoring valve seat condition leaves pitting, corrosion, or scale in the sealing zone. Rough seats cut new washers during closure cycles.
How Do You Fix A Tap Washer That Still Drips After Replacement?
A tap washer that still drips after replacement indicates an unresolved sealing failure between the new washer and the valve seat, a sizing or profile mismatch, or a spindle assembly fault that prevents uniform compression. Drip persistence usually links to valve seat pitting, trapped debris, washer tilt, or cap nut seepage misdiagnosed as spout dripping.
- Confirm Leak Source: Confirm leak source by drying the tap body and observing moisture origin for 60 seconds after full closure. Spout dripping indicates seal failure at washer and valve seat. Cap nut moisture indicates spindle packing seepage. Base moisture indicates tap body joint seepage.
- Check Washer Size: Check washer size by comparing outer diameter, inner hole diameter, and thickness against the removed washer or spindle recess dimensions. Undersized washers bypass the seat aperture edge. Oversized washers buckle and tilt under compression.
- Match Washer Profile: Match washer profile by confirming flat profile or conical profile against the spindle design and valve seat geometry. Flat washers seal against flat seats with uniform face contact. Conical washers seal against angled seats with ring contact.
- Clean Sealing Surfaces: Clean sealing surfaces by removing grit, scale, and rubber fragments from the spindle base and valve seat area. Use a dry cloth and controlled wiping rather than abrasive scratching. Debris trapped on the valve seat creates micro-gaps. Mineral grains score the new washer during first closure cycles.
- Inspect Valve Seat: Inspect valve seat for pitting, corrosion craters, and roughness inside the tap body using a torch light. Rough seats prevent uniform washer compression across the sealing ring.
What Is The Difference Between Tap Washers For Kitchen And Bathroom Taps?
Tap washers for kitchen taps and bathroom taps differ mainly by tap duty cycle, water temperature exposure, flow rate demands, and tap mechanism type, not by room location, because washer choice depends on the compression or cartridge design and the valve seat geometry. Kitchen taps often face higher daily use and higher mixed-water throughput.
- Tap Mechanism Type: Tap mechanism type determines washer compatibility because compression taps use washers and many quarter-turn taps use ceramic cartridges. Kitchen mixer taps frequently use cartridge internals.
- Usage Frequency: Usage frequency differs because kitchen taps commonly operate for washing, food preparation, and cleaning cycles. Higher cycle count increases abrasion on washer faces.
- Water Temperature Exposure: Water temperature exposure differs because kitchen taps often deliver sustained hot water for washing tasks. Hot water accelerates elastomer hardening and crack formation.
- Flow Rate Demand: Flow rate demand differs because kitchen taps often serve higher flow tasks, including pot filling and rinsing. Higher flow increases pressure load across the valve seat. Bathroom taps usually operate at lower flow for handwashing. Higher pressure load increases sealing stress on the washer edge.
- Valve Seat Wear Risk: Valve seat wear risk increases with higher sediment and higher use frequency. Kitchen taps often process suspended particles from cooking and cleaning. Bathroom taps often process less particulate load.
Can You Change A Tap Washer On A Thermostatic Mixing Valve?
A thermostatic mixing valve does not use a standard tap washer, so thermostatic mixing valve repair usually involves replacing a thermostatic cartridge or internal seals rather than changing a tap washer. Thermostatic mixing valve function depends on a temperature-sensing element and a mixing shuttle inside a cartridge.
- Mechanism Difference: Thermostatic mixing valve internals regulate temperature using a cartridge assembly and sealing rings. Compression tap internals stop flow using a washer pressed onto a valve seat.
- Serviceable Components: Serviceable components usually include thermostatic cartridge, O-rings, filters, check valves, and flow regulators depending on model. Seals degrade through heat cycling and mineral scaling.
- Leak And Fault Symptoms: Leak and fault symptoms include temperature drift, outlet temperature fluctuation, restricted flow, and intermittent dripping at the controlled outlet. Thermostatic mixing valve points to internal seal leakage or cartridge seating issues.
- Isolation Requirements: Isolation requirements include closing both hot and cold feeds to the thermostatic mixing valve. Pressure relief requires opening the controlled outlet until flow stops.
- Access Constraints: Access constraints depend on installation type, especially concealed shower valves.
What Should You Do If The Tap Valve Seat Is Damaged?
A damaged tap valve seat requires seat cleaning, seat resurfacing, or tap component replacement because a rough or pitted valve seat prevents uniform washer compression and keeps a compression tap dripping after washer replacement. Valve seat condition controls the sealing interface.
- Confirm Seat Damage: Confirm seat damage by inspecting the valve seat surface after spindle removal using a torch. Pitting appears as small craters on the brass ring. Scoring appears as circular grooves.
- Remove Mineral Scale: Remove mineral scale using controlled cleaning that targets deposits without gouging brass. Soft nylon brushing removes loose scales. White vinegar soaking on a cloth loosens calcium deposits.
- Resurface Valve Seat: Resurface valve seat using a valve seat re-seating tool designed for taps. Light, even cutting, restores a flat sealing ring. Controlled rotation prevents over-cutting and misalignment.
- Replace Seat Insert: Replace seat insert when the tap uses a removable seat component. Seat inserts unscrew using a seat wrench. New inserts restore factory sealing geometry. Insert replacement removes severe corrosion without aggressive cutting.
- Replace Tap Cartridge Or Valve: Replace tap cartridge or valve assembly when seat damage exists inside a cartridge-based tap or when seat repair does not restore sealing. Cartridge replacement renews internal sealing faces.
How Often Should You Change Tap Washers As Preventive Maintenance?

Preventive tap washer replacement follows a 2–5 year interval for compression taps, and earlier replacement becomes necessary when spout dripping, increased closing force, or extended handle travel appears. Interval selection depends on usage frequency, water hardness, and hot water exposure.
- Baseline Interval: Baseline interval for preventive tap washer replacement is 2–5 years in typical domestic compression tap use. The lower end fits high daily cycle counts. The upper end fits low-use guest bathrooms.
- High Use Taps: High use taps often require washer replacement every 1–2 years. Kitchen taps commonly operate for multiple daily tasks. Higher cycle count increases abrasion and compression fatigue. Earlier replacement reduces drip risk.
- Hard Water Areas: Hard water areas often require washer replacement every 1–3 years. Mineral scale increases friction and scoring on the sealing ring. Scale debris embeds into washer faces. Faster wear increases drip recurrence.
- Hot Water Lines: Hot water lines often shorten washer lifespan to 1–3 years. Heat cycling hardens rubber and reduces elasticity. Hardened washers require higher closing torque. Higher torque accelerates seat wear.
- Symptom Trigger Rule: Symptom trigger rule replaces calendar intervals when spout dripping starts. Drip onset signals seal failure already exists. Replacing at first symptom reduces water wastage.
What Are The Cost Implications Of Changing A Tap Washer Yourself Vs. Hiring A Plumber?
DIY tap washer replacement usually costs £1–£25 in parts and basic consumables, while hiring a plumber for the same repair usually costs £100–£220 for a standard visit. DIY cost stays low when tools already exist. Plumber cost includes call-out, labour time, and travel.
- DIY Parts Cost: DIY parts cost usually sits at £1–£8 for washers and small consumables. Multi-pack washer sets often cover common sizes. Extra spend comes from buying the wrong size twice.
- DIY Tool Cost: DIY tool cost usually sits at £0 when tools exist, or £10–£45 when buying an adjustable spanner, screwdriver, and finish-protection materials. One-time tool purchase spreads across future repairs and reduces per-job cost.
- DIY Total Cost Range: DIY total cost commonly lands at £1–£25 when tools exist and only the washer changes. DIY total cost rises to £25–£70 when new tools and a basic seat-cleaning tool join the purchase.
- Plumber Standard Visit Cost: Plumber standard visit cost commonly lands at £100–£220 for a straightforward washer replacement. The price typically combines call-out and 30–60 minutes labour plus minor parts.
- Plumber Emergency Premium: Plumber emergency premium commonly lands at £150–£350 for urgent or out-of-hours attendance. Premium pricing reflects availability and travel time, not washer complexity.
- Hidden Damage Cost: Hidden damage cost appears when a rounded cap nut, seized spindle, or damaged valve seat forces extra work. DIY errors often convert a £5 washer job into £40–£150 of parts or a larger repair visit.
How Do You Change A Tap Washer On Different Tap Types?
Tap washer changing only applies to compression tap mechanisms, and other tap types use cartridge or seal replacement rather than a tap washer. Tap type identification controls the correct repair path. Compression taps use a rubber or fibre washer that seals against a valve seat.
- Compression Pillar Taps: Compression pillar tap washer changing follows handle removal, cap nut removal, spindle extraction, washer screw removal, washer replacement, valve seat inspection, and reassembly.
- Two Handle Mixer Taps: Two handle mixer tap washer changing repeats the compression tap process on both hot and cold valve units. Each side contains a separate spindle and washer in many traditional mixer bodies. Replacing one side only leaves the second side as a leak risk. Both valve seats require inspection.
- Wall Mounted Bridge Taps: Wall mounted bridge tap washer changing uses the same compression sequence, plus careful alignment during reassembly to prevent body strain.
- Monobloc Mixer With Cartridge: Monobloc mixer taps usually require cartridge replacement, not tap washer replacement. Water isolation occurs at both supplies. Handle removal exposes a retaining nut or clip.
- Quarter Turn Ceramic Taps: Quarter turn ceramic taps use ceramic disc cartridges, not tap washers. Tap head removal exposes a ceramic cartridge secured by a retaining nut. Cartridge replacement restores shutoff when dripping persists.
- Outdoor Bib Taps: Outdoor bib tap washer changing follows compression tap steps with extra attention to corrosion and seized components. Penetrating fluid and correct spanner fit reduce rounding risk.
What Should You Do If You Encounter A Stuck Or Corroded Tap Washer?

A stuck or corroded tap washer requires controlled extraction, surface cleaning, and valve seat inspection because forced removal damages the spindle, retainer screw, or valve seat and increases repeat leaking risk. Sticking usually occurs from mineral scale bonding, rubber degradation, or corrosion around the retainer screw.
- Stop Forced Pulling: Stop forced pulling to prevent spindle recess damage and washer seat gouging. Abrupt leverage tears rubber and leaves bonded fragments behind.
- Soften Mineral Bond: Soften mineral bond by applying white vinegar on a cloth to the washer area for 10–15 minutes. Acid dissolution loosens calcium scale that bonds rubber to metal. Repeat application improves release on a heavy scale.
- Remove Retainer Screw Safely: Remove retainer screw safely using a correct-size screwdriver with firm downward pressure. Damaged screw heads require controlled gripping with pliers.
- Extract Washer Fragments: Extract washer fragments using needle-nose pliers or a small flat tool under the washer edge. Fragment lifting requires shallow angles to avoid metal scoring.
- Clean Spindle Recess: Clean spindle recess using a dry cloth and nylon brush to remove corrosion dust and scale. Clean metal surfaces support flat washer seating. Residue under the washer creates tilt and micro-gaps.
- Inspect Valve Seat Surface: Inspect valve seat surface inside the tap body for pitting and roughness. Corrosion on the seat cuts new washers quickly. Scale ridges create uneven compression zones.
Are There Alternative Washer Free Tap Designs That Eliminate The Need For Washer Replacement?
Washer free tap designs eliminate tap washer replacement by using ceramic disc cartridges, ball valves, or cartridge seals that shut off water without compressing a rubber washer against a valve seat. These designs reduce spout dripping caused by washer wear.
- Ceramic Disc Taps: Ceramic disc taps use two hard ceramic plates that slide to open and close water flow. Ceramic plates form a flat sealing interface without a rubber washer. Quarter turn handles are common on ceramic disc taps.
- Cartridge Mixer Taps: Cartridge mixer taps regulate flow and temperature using a sealed cartridge unit. Internal O-rings and sealing rings control leakage points. Cartridge replacement restores shutoff and smooth operation.
- Ball Valve Taps: Ball valve taps use a rotating ball with ports aligned to control flow. Rubber seats and springs support sealing around the ball assembly. Maintenance targets seats and springs rather than a tap washer.
- Thermostatic Shower Valves: Thermostatic shower valves maintain set temperature through a thermostatic cartridge. Shutoff and mixing occur through cartridge components and seals.
- Seal Wear Reality: Seal wear reality remains because washer free taps still contain elastomer seals. O-ring hardening and scale build-up cause leakage. Debris scoring damages sealing faces. Seal kits and cartridges represent the common fix path.
How Do You Prevent Future Tap Washer Problems Through Proper Water Quality Management?
Tap washer problems reduce when water hardness scale, sediment grit, and corrosion conditions reduce because these factors score valve seats, harden washers faster, and trap debris on sealing faces. Water quality management focuses on scale control, particle filtration, and corrosion reduction.
- Measure Water Hardness: Measure water hardness using a test strip or supplier report to classify soft, moderate, or hard water. Hard water increases calcium scale formation on valve seats. Scale ridges create uneven compression zones.
- Control Limescale Formation: Control limescale formation using a mains water softener or polyphosphate dosing where suitable for the property. Reduced carbonate scale lowers abrasive deposits on sealing rings.
- Install Sediment Filtration: Install sediment filtration on the incoming mains or on local supply lines to reduce grit particles. Fine particles scratch washer faces during closure cycles.
- Flush Supply Lines: Flush supply lines after plumbing work to remove solder beads, pipe scale, and construction debris. Debris migrates into tap bodies and jams sealing faces. Controlled flushing reduces early-life washer damage.
- Maintain Aerators Regularly: Maintain aerators regularly to prevent flow restriction that signals scale and debris in the system. Restricted flow increases user closing force and increases washer compression stress.
What Safety Considerations Should You Follow When Changing A Tap Washer?

Tap washer safety requires isolating hot and cold water supplies, relieving pressure fully, preventing scald contact, protecting eyes and hands from debris, and controlling tool slip to avoid injury and property damage. Safe isolation prevents flooding. Safe temperature control prevents burns.
- Isolate Both Supplies: Isolate both supplies by closing hot and cold isolation valves or the stop valve before dismantling. Partial isolation leaves pressurised water inside the tap. Full isolation prevents sudden discharge when the spindle lifts.
- Relieve Line Pressure: Relieve line pressure by opening the tap fully after shutoff. Pressure release prevents spray at the cap nut and spindle threads. Residual water drains from the tap body and supplies tails.
- Prevent Scald Contact: Prevent scald contact by allowing hot lines to cool before dismantling and avoiding contact with hot water trapped in the tap body. Hot water trapped in the spindle chamber exits during spindle extraction.
- Protect Hands And Eyes: Protect hands and eyes using gloves and eye protection when corrosion, scale, or metal fragments exist. Scale chips dislodge during cap nut loosening.
- Stabilise Tools: Stabilise tools using correct spanner fit, two-hand control, and a cloth barrier on chrome. Poor tool fit causes slip and knuckle injury. Controlled torque prevents rounding nuts and stripping screws.
- Secure Small Parts: Secure small parts by plugging the waste and using a tray for screws and caps. Dropped screws disappear into drains and delay reassembly. Missing screws create loose tap heads.
How Do You Test Your Tap For Leaks After Washer Replacement?
Leak testing after tap washer replacement requires gradual water restoration, a spout drip check under full closure, and a joint inspection at the cap nut and tap base under pressure.
- Restore Water Slowly: Restore water slowly by opening isolation valves gradually to pressurise the tap body without shock. Sudden pressurisation hides small leaks behind splashing.
- Purge Air Fully: Purge air fully by opening the tap to mid-flow for 10–20 seconds, then closing. Air removal reduces the splutter that masks leak points. Stable flow confirms pipe fill.
- Perform Spout Drip Check: Perform spout drip check by closing the tap fully and watching the spout outlet for 60 seconds. Zero droplets confirm washer-to-seat sealing.
- Inspect Cap Nut Area: Inspect cap nut area by drying the tap body, then running fingers around the cap nut joint and spindle entry point. Moisture at the cap nut signals packing seepage or cap nut under-tightening. Water beads confirm active leakage.
- Inspect Tap Base And Tails: Inspect tap base and tails by checking under the basin or sink for moisture at flexi hoses, isolation valves, and tap shank connections. Moisture here indicates joint seepage rather than washer failure.
- Cycle Operation Test: Cycle operation test requires opening and closing the tap 5 times to confirm consistent shutoff. Variable dripping after cycling indicates debris movement or washer tilt.
Summing Up
Tap washer replacement succeeds when a compression tap shuts off completely because a correctly sized washer compresses evenly against a clean, smooth valve seat. Water isolation and pressure drainage keep the repair safe and controlled. Correct disassembly prevents thread damage and finish damage. Correct measurement of washer outer diameter, inner hole diameter, thickness, and washer profile prevents repeat dripping caused by mismatch.
Persistent dripping after washer replacement usually indicates a valve seat problem, trapped debris, or incorrect assembly alignment rather than a defective new washer. Valve seat pitting, scale ridges, and scoring prevent full sealing and cut new washers quickly, so seat cleaning or seat resurfacing becomes the correct next step. Leak testing finishes the job properly through gradual water restoration, a 60-second spout drip check, cap nut seepage inspection, and under-sink fitting inspection. Repeated open–close cycling confirms stable shutoff under real use.
Washer replacement does not apply to cartridge taps and thermostatic mixing valves because these designs use cartridges and seals rather than a compression washer. Long-term reliability improves when limescale and sediment are reduced through water quality management, because scale and grit accelerate washer wear and valve seat damage. A successful repair ends with a dry spout, a dry cap nut area, smooth handle operation, and stable shutoff without excessive closing force.