Planning your Bathroom Layout

It may feel daunting to get stuck into a bathroom redesign, but with enough planning and consideration, you can create the bathroom of your dreams much easier than you think. With our helpful guide, we’re here to offer help and advice on the best ways to plan your bathroom layout to ensure your result is a scheme that works for you and your home.
1- Measure the Space
Before you buy furniture and plan where to put things, ensure you have a good idea of what space you have to work with. This avoids disappointment down the line when things may not fit the way you want them to. This doesn’t have to be a massive task that takes hours upon hours. Simply grab a pen and paper and draw out the rough shape of the room you’re working in. Measure each wall space and write down the measurements on the corresponding areas. This will then show you how much space you have inside that area, and you can use this diagram when shopping for your perfect furniture pieces.
2- Shop for your Furniture
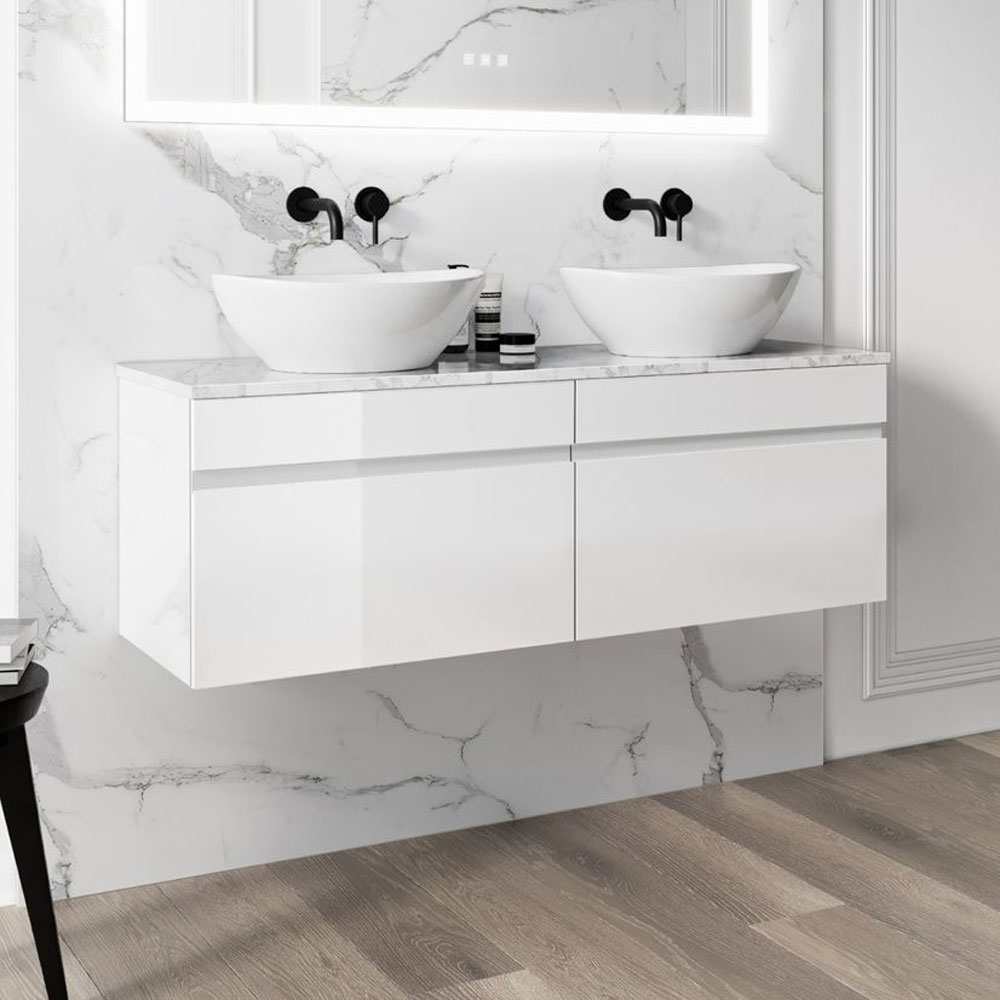
Now it’s time to buy the pieces you’d like to implement into your space. Take careful consideration when doing this, you should ensure you know what kind of bathroom you and your household needs. For example, are you a family that takes more baths than showers? If so, ensure you prioritise a bath, rather than invest in a wet room that may not get used. The same goes if you’re a busy couple with one bathroom, you may benefit from a double vanity space, to ensure you can both be ready for the day on time. Depending on how your bathroom gets used most, you’ll need to look into the best furniture for each purpose. If you have any questions about what the best furniture for your space may be, don’t hesitate to get in touch with our friendly team.
3- Plan the Layout
Grab your diagram from earlier on, and with a pencil mark out where you’d like your furniture to go. Imagine yourself in that space and get a feel for whether or not it works for your daily life. Consider things like water sources, are they too close to any wooden furniture that may get water damaged? Consider your toilet placement, is there enough space to comfortably sit on the toilet without having to squeeze in areas? When the space is complete you should feel it works efficiently and coherently for your needs. We would also recommend visiting the governments Planning Portal, to ensure you stay within guidelines and regulations.

Considering Electrical Zones –
With the increase of electrical items introduced into modern bathrooms, like LED mirrors or speakers, it’s important to understand where these items should b placed in relation to your bath, shower or sink. The zones surrounding these areas are called electrical zones, and are vital when it comes to you bathroom plan. Objects like lighting, ventilation, radiators, illuminated mirrors, cabinets and speakers all need to be planned in relation to these zones. The three electrical zones are zone 0, 1 and 2.
Zone 0
Zone 0 is known to be any area within a bathroom that has the capacity to hold a body of water. So this is areas like your sink, bath, shower tray etc. If you’re planning to use an appliance or fitting in zone 0, it should be a maximum of 12 volts (SELV) and completely protected against total submission in water, and have a minimum rating of IPX7.
Zone 1
Zone 1 is often nicknamed ‘the splash zone’, and is known to be any area that may get wet, but not necessarily submerged in water. Zone 1 is the area directly above zone 0 to the height of 2.25m, from the bottom of the bath or shower. Any fitting or appliance within zone 1 should be IPX4, or ‘splash proof’. It should also be a maximum of 12 volts (SELV) as with zone 0, and the converter should be placed outside of zone 0, 1 and 2.
Zone 2
This zone is any area stretching to 600mm outside of the bath or shower. This is the area that’s least likely to get wet, but still has the potential to get splashed here and there. Any fitting or appliance within this zone must be IPX4 or better, and as with zones 0 and 1, should be a maximum of 12 volts. Converters should be placed beyond zone 2, their reach should not be accessible in zone 0, 1 or 2. For example, if you’re installing a hairdryer, the cord should not reach into any of the zones.
What’s an IP Rating?
If you’re slightly confused as to what an IP rating is, let us explain. IP (Ingress Protection) numbers are a rating given to show the level of mechanical and moisture protection. The rating reads IPXY, with X being the level of mechanical protection, and Y being the level of moisture protection. If an appliance or fitting does not have an IP number it should not be used in zones 0, 1 or 2.
Layout Ideas –
There are so many different variations of bathroom layouts you could opt for, and as we previously mentioned, its all about what works best for you. If you’re stuck for ideas, let us help.
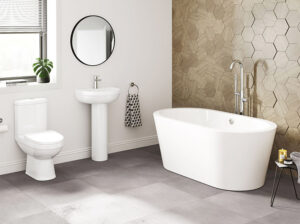
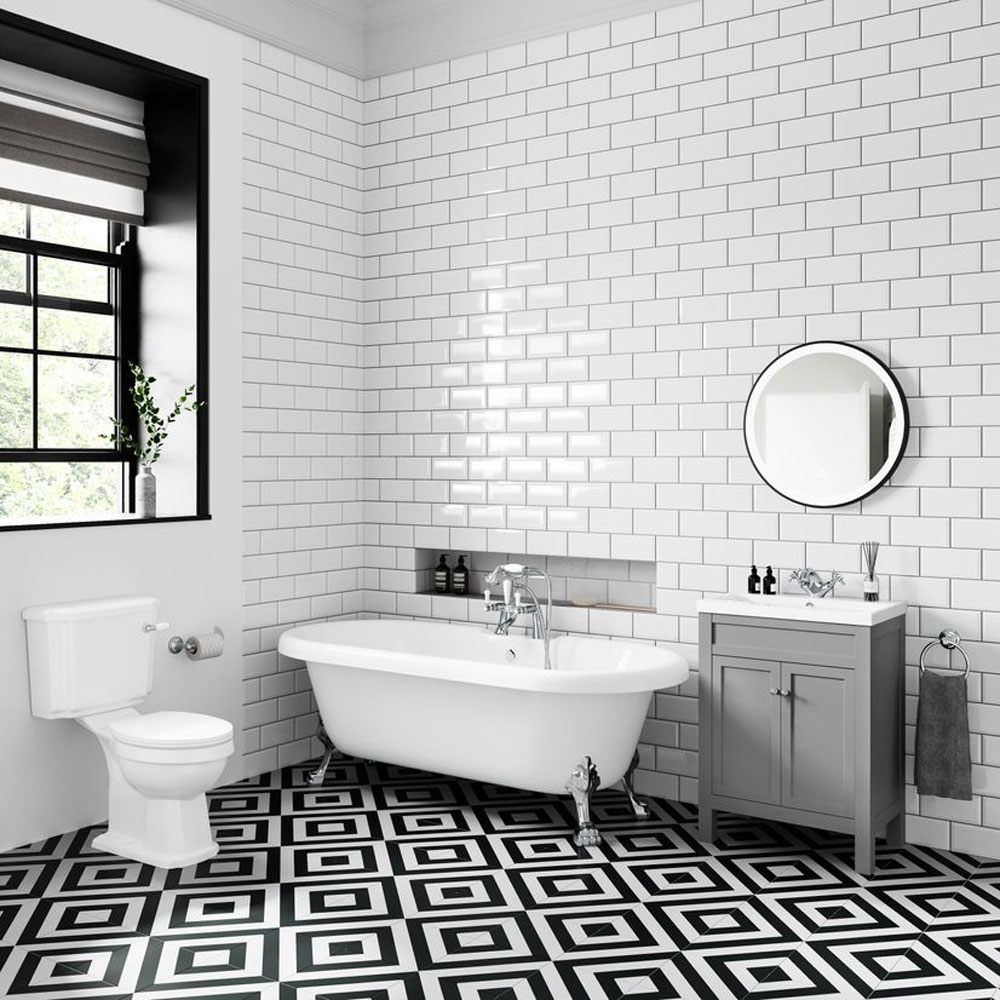
– Make your Bath your Focal Point
This can create a beautiful bathroom scheme that is both practical and aesthetic. Depending on where your bathroom door is, place the bath directly in front so it’s the first thing seen when entering. Design the area around the bath, placing your sink and toilet in areas surrounding. We’d recommend placing the sink and toilet at either end of the room, to elongate the space if it’s appearing square. Introduce classy finishing touches like tile panelling or a statement floor, both available from Tile Mountain, to bring the space together.
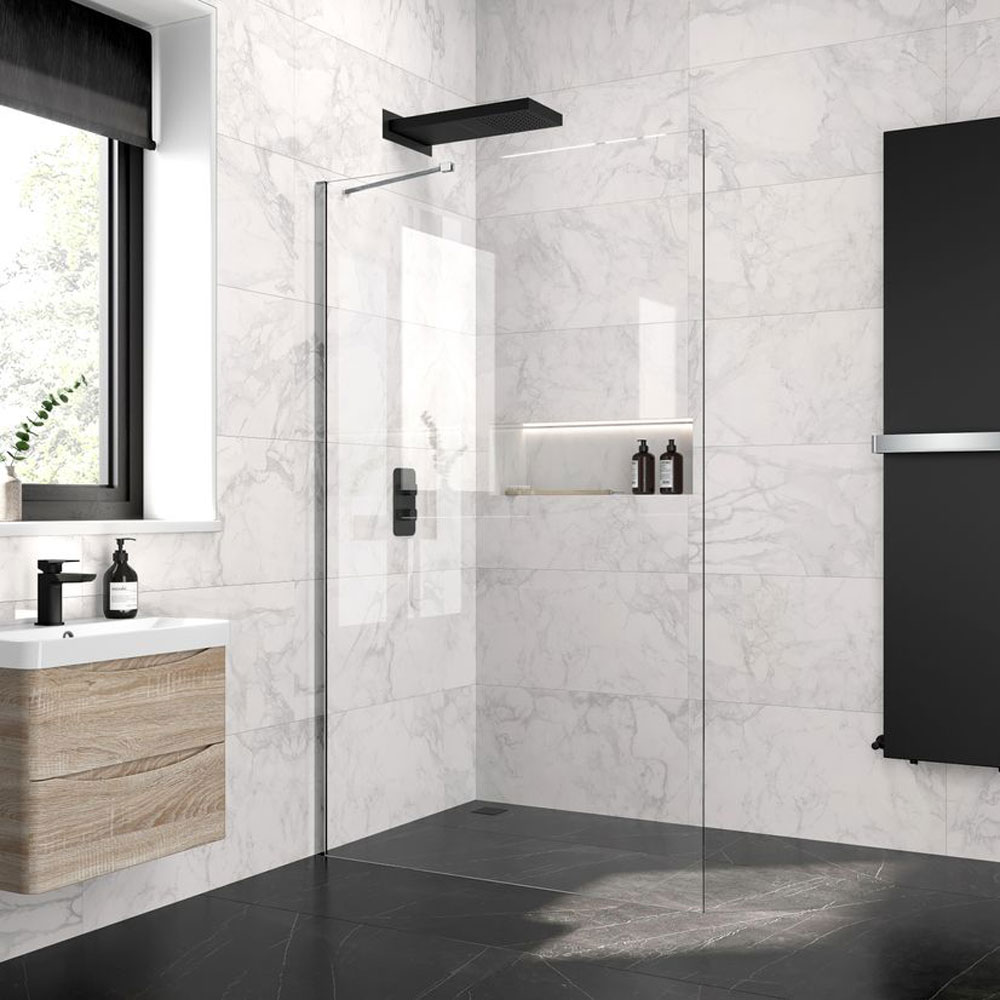
– Introduce a Wet Room
By introducing a wet room you’ll be adding a whole new way of using your bathroom space. It can be a pricey endeavour to take, but if you love a long shower, we promise it’s worth it. Your whole room will need to be redesigned when introducing a new wet room. Allow enough distance from where your water travels from the shower head to any furniture you’re implementing into your space, since there’s no enclosure to protect it. We’d especially recommend keeping wood furniture a safe distance from your water source, as these pieces often get water damaged. Wet rooms often feature a single glass panel to protect most of the room, so if you’re especially worried about your wood furniture getting damaged, place it alongside this screen, on the outside of the shower space, for the best protection.
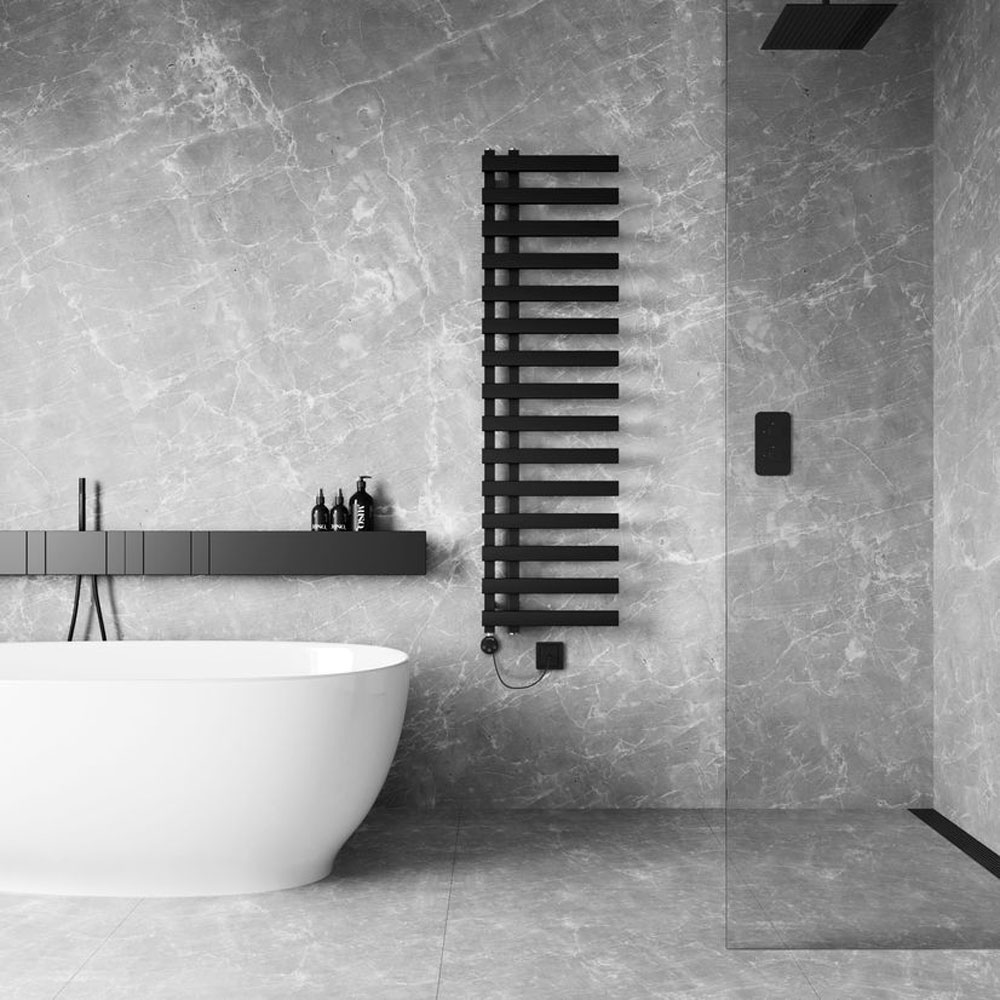
– Don’t Forget your Heated Towel Rails and Radiators!
We often find that heating the bathroom is an afterthought when planning the bathroom, but make sure you consider this long and hard before settling on an arrangement. If you don’t have the opportunity to move your heating around, don’t worry, there’s a radiator that’s sure to suit your space. For a smaller room, try a slim wall mounted towel rail, so you can store your towels and heat the room at the same time. If you have a larger room you’ll need a larger radiator to ensure the whole room gets toasty, so you have much more choice on the shape and style you implement.
If you have the budget to move your heating source around, ensure you put it next to your shower. When you get out the shower the first thing you’ll be looking for is a warm towel. There’s no better way to do this than ensure you have a heated towel rail near by. If you don’t have a shower and only have a bath in the room, work your heating source into a space near the bath, for the same reason.
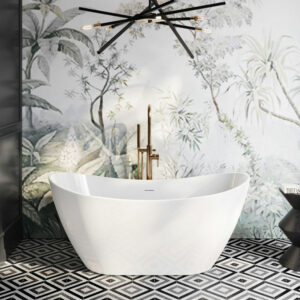
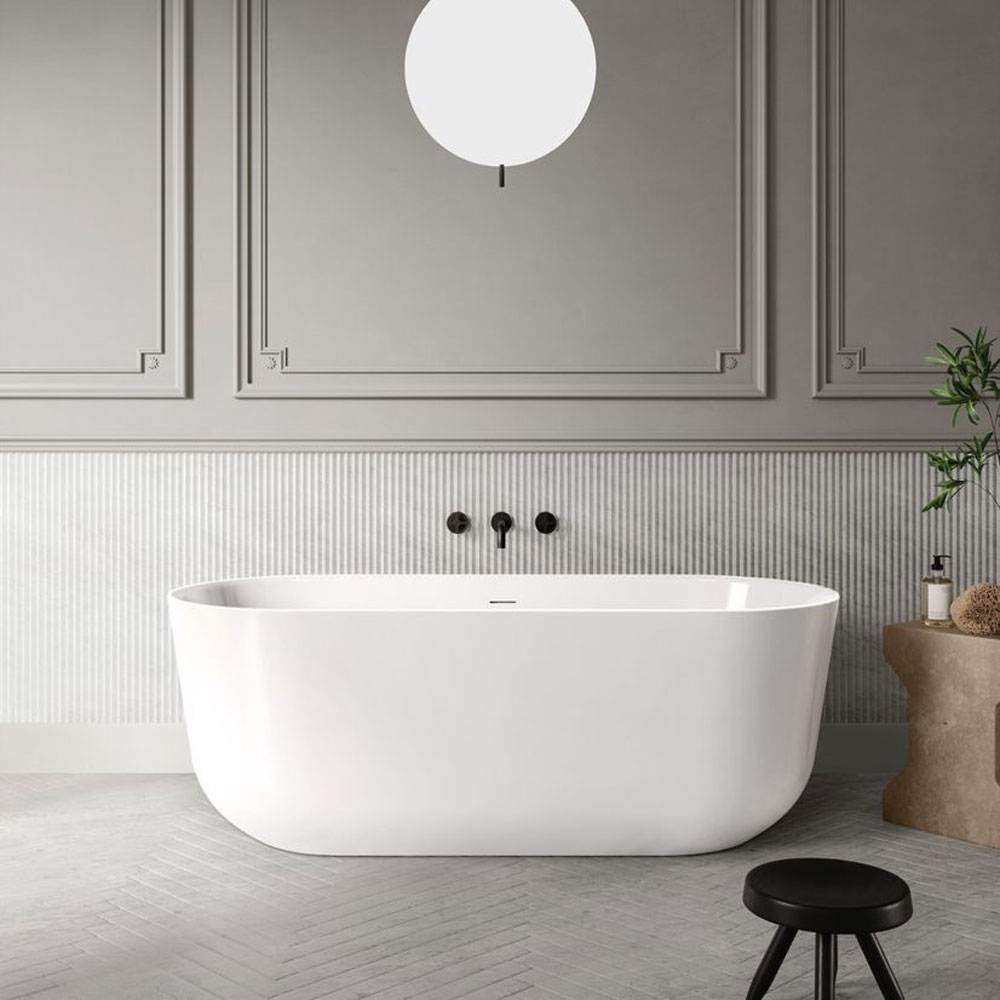
– Combine your Shower and Tub
If you have your heart set on having both a shower and a bath tub but are extremely limited on space, don’t worry, there’s a solution! Whether you choose a freestanding bath or a straight bath, you can still combine with your shower so the pair work compatibly together. If you’re opting for a freestanding bath, ensure you plumb it against the wall to allow water to run into the bath. This is great for those that want the aesthetic of a freestanding bath with the practicality of a shower bath. Here at Bathroom Mountain we have specific options for those looking for a traditional freestanding bath while maintaining the ability to have it flush up against the wall, as shown below.
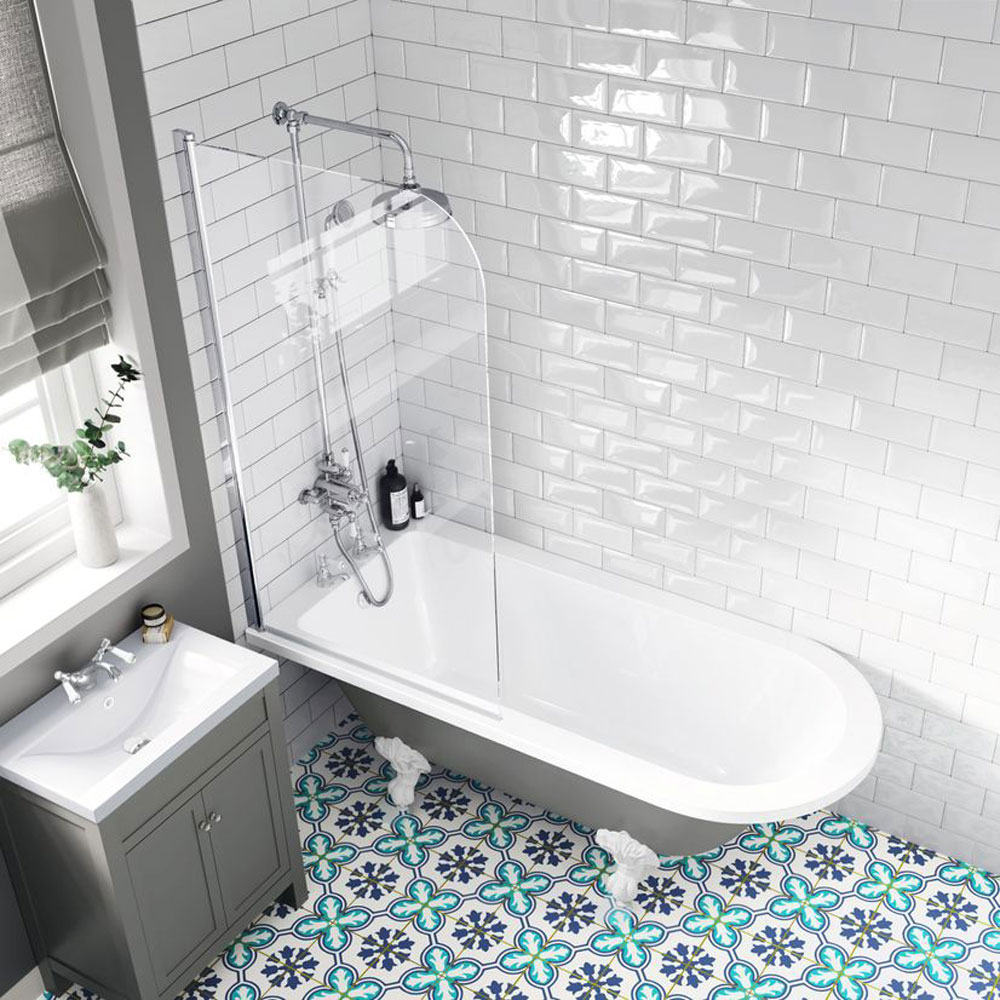
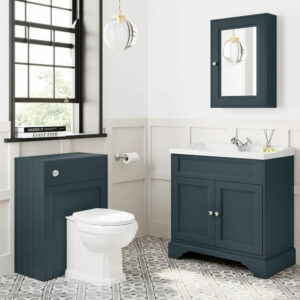
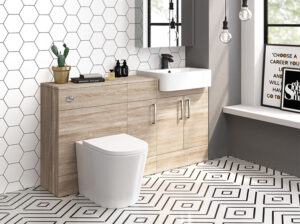
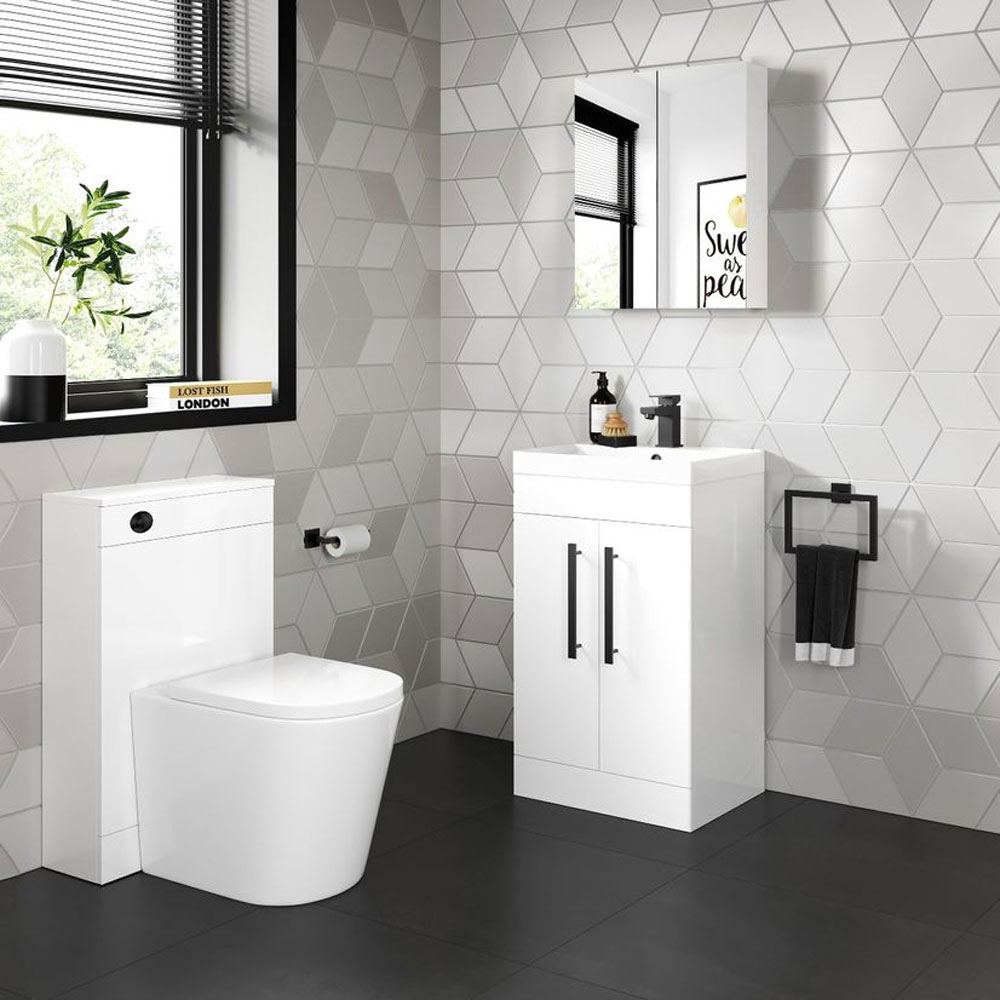
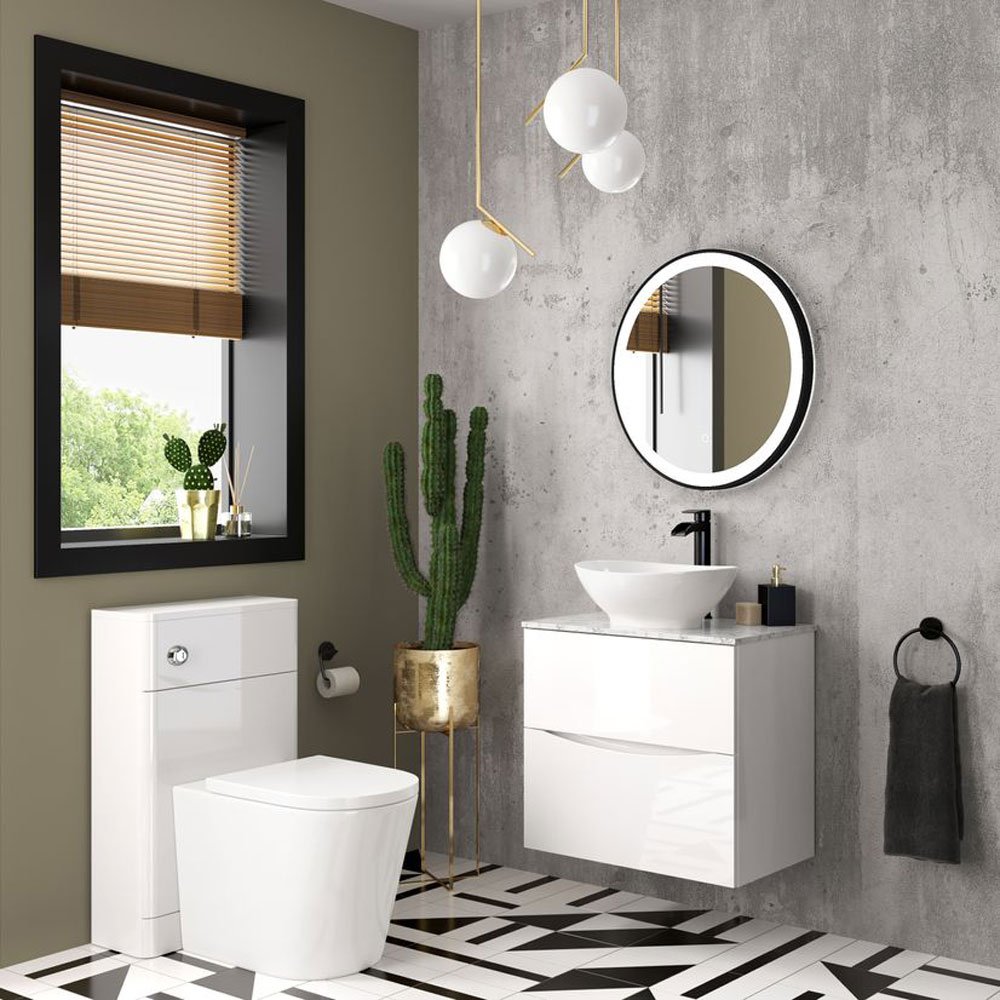
– The Small and Slim Bathroom
Some of us have narrow bathrooms with little space to work with, but this doesn’t have to be challenging. There’s ways around this that can result in an effective bathroom without compromising on furniture you love. If you can depart with your bath, a single shower can be a great space saving option. However, if your heart is set on having the option of bath or shower, we’d recommend implementing a shower bath, to be sure you’re not using up any unnecessary space that you don’t have. Place this at one end of the room, your sink and toilet can go at the other. If your space is wide enough, you can choose from a range of beautiful vanity units to set your space off. If not, opt for a pedestal basin to offer floor space. Cloakroom basins are great option for those that are really squeezed for extra space.
With our help and advice we hope we’ve given you an idea on how to plan your bathroom layout effectively, to ensure only the best results for you and your home. Tag us in images of your new bathrooms on Instagram, @Bathroommountainuk, we love seeing what you’ve been up to!